Ever wondered what else you could make with your embroidery besides hoop art? Well today I am going to introduce you to a technique that will give you a lot of new ideas about things you can make with your embroidery.
The technique I will be talking about is called applique. Applique is defined as "ornamental needlework in which pieces of fabric are sewn or stuck onto a large piece of fabric to form pictures or patterns." That is the broad definition. What I will be showing you today is how to take a finished piece of embroidery and stick/sew it onto a garment.
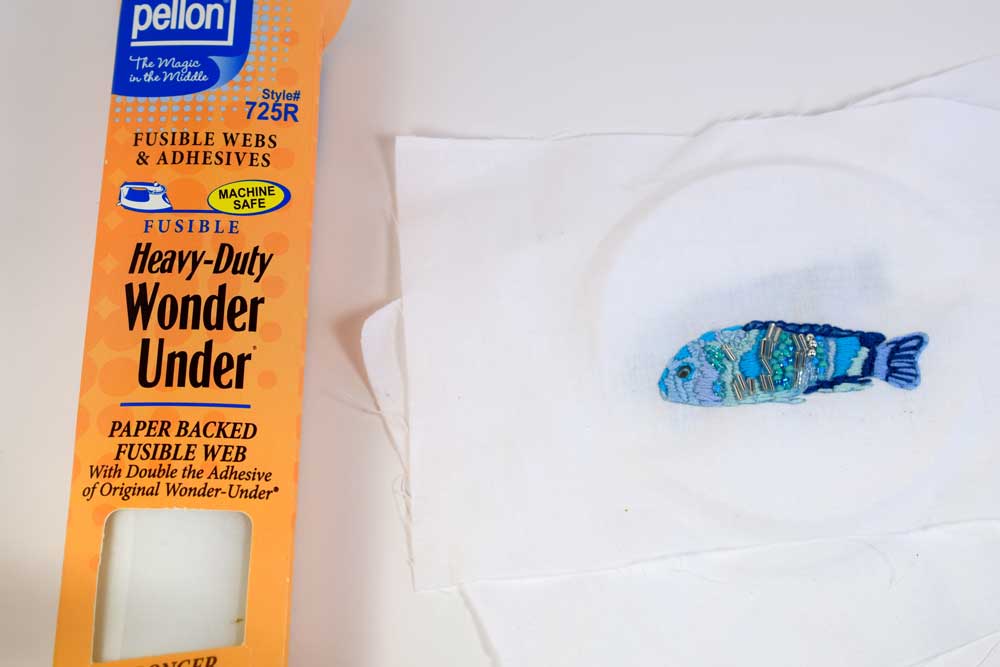
Remember this fish piece from the last post? I decided I wanted to apply this to a white shirt I have. While this piece has beads attached, I am going to recommend that you use a piece without beads (20/20 hindsight). You need to use the iron to apply the adhesive which can be rather difficult with beads. That being said, it can be done!
You will need double sided fusible web. I used this Wonder Under brand but I also use Heat and Bond which is fantastic. This brand (Wonder Under) comes in a roll. One side has paper and one side is the rougher side with the adhesive. The idea is to bond the rough adhesive side to the wrong side of your fabric, then peel off the paper backing and bond the fabric to the larger piece of fabric (which in this case is a shirt.)

I cut out rectangle of the wonder under to fit the rectangle of embroidery.
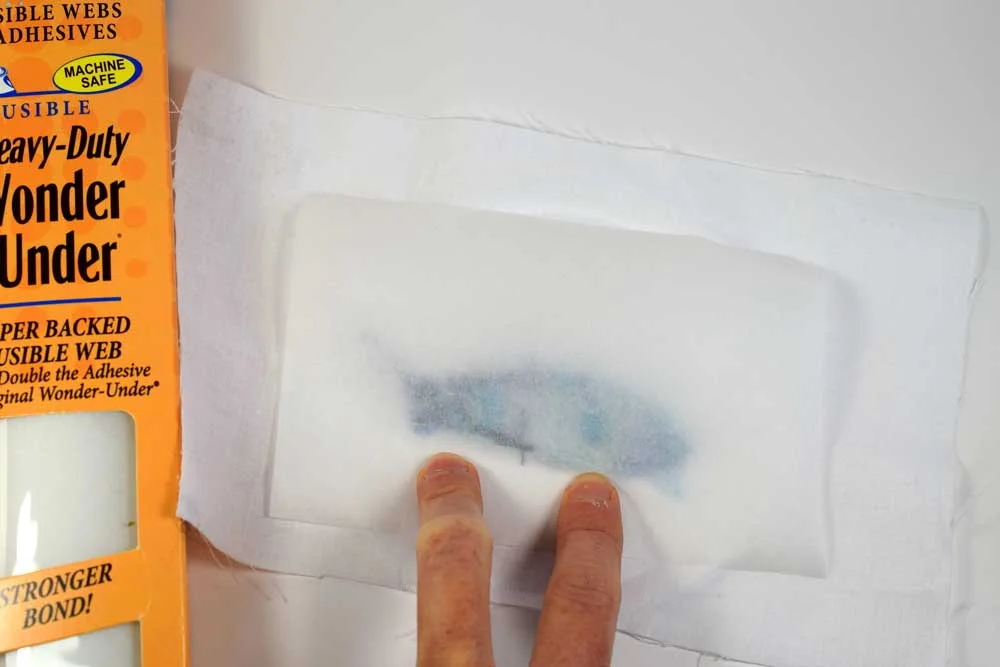
Match the wrong side of the fabric (the back part) with the textured side of the Wonder Under (not the paper side.) I made sure to generously overlap the embroidery but make sure the Wonder Under is smaller than the rectangle of fabric that the embroidery is on. You will be using a hot iron which melts the adhesive and if the Wonder Under was bigger than the fabric, the glue would stick to your iron.
Flip the fabric over and iron on the 'right' side of the fabric to adhere the Wonder Under.

Here is what the back looks like after ironing on the adhesive.

Peel off the paper backing.

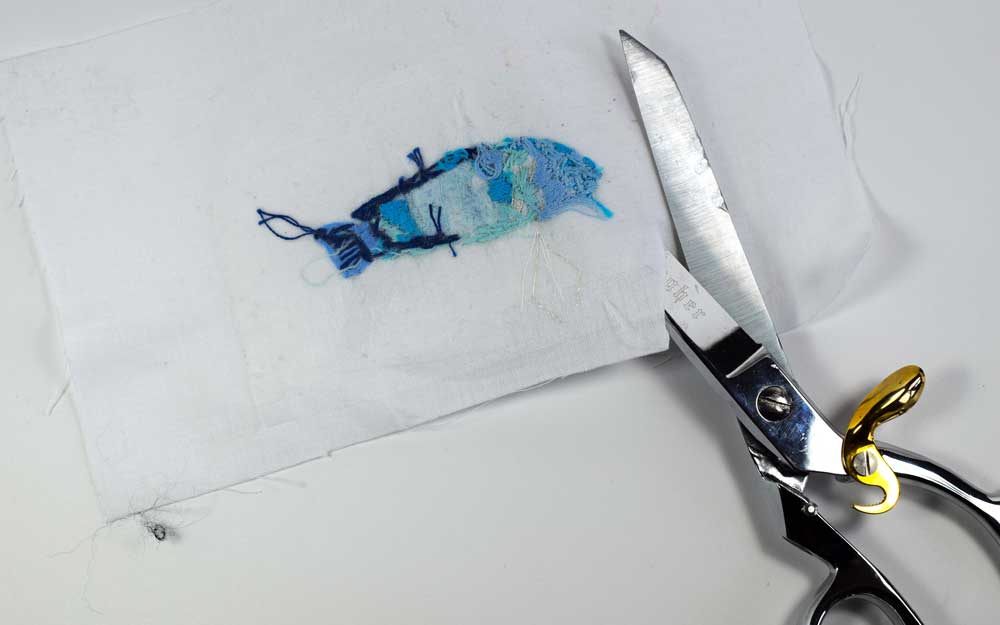
Decide how much border you want around your embroidery. I left about 1/4 inch of white border around the embroidery to leave a small edge for hand sewing. Keep in mind the color of the border and the color of the background fabric.

Here it my piece after it has been trimmed. It is now ready to be affixed to the fabric.

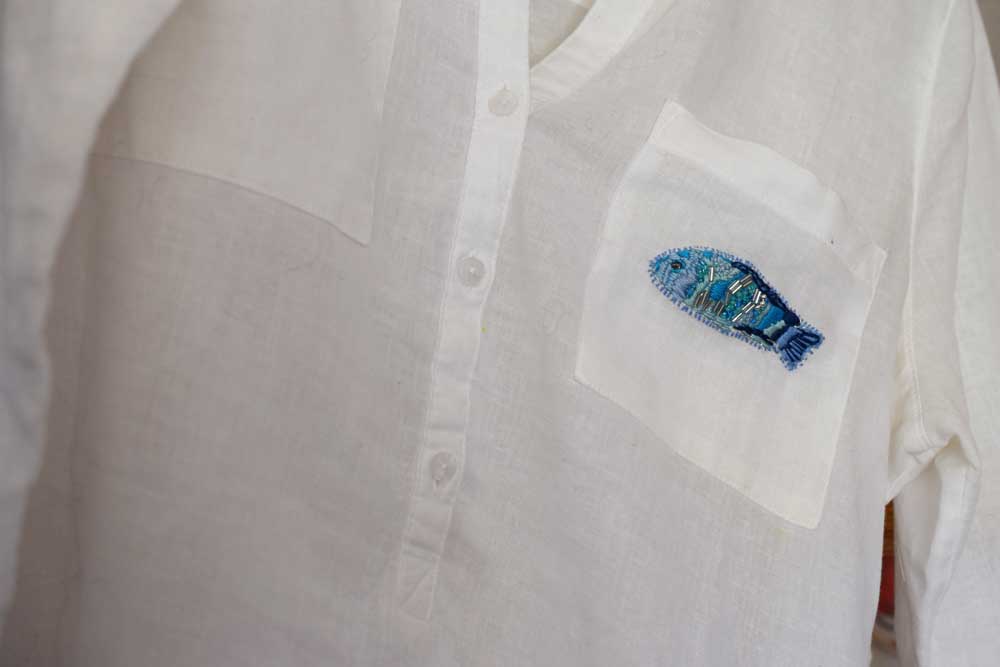
Now is a good time to figure out where to place your design. I chose a pocket on the front of the shirt.

Once I decided on the placement, I ironed over my design to bond it to the fabric. I had to avoid the beads so I mostly got the edges and borders bonded securely then I decided to hand sew around the border to further secure it and add a decorative element.

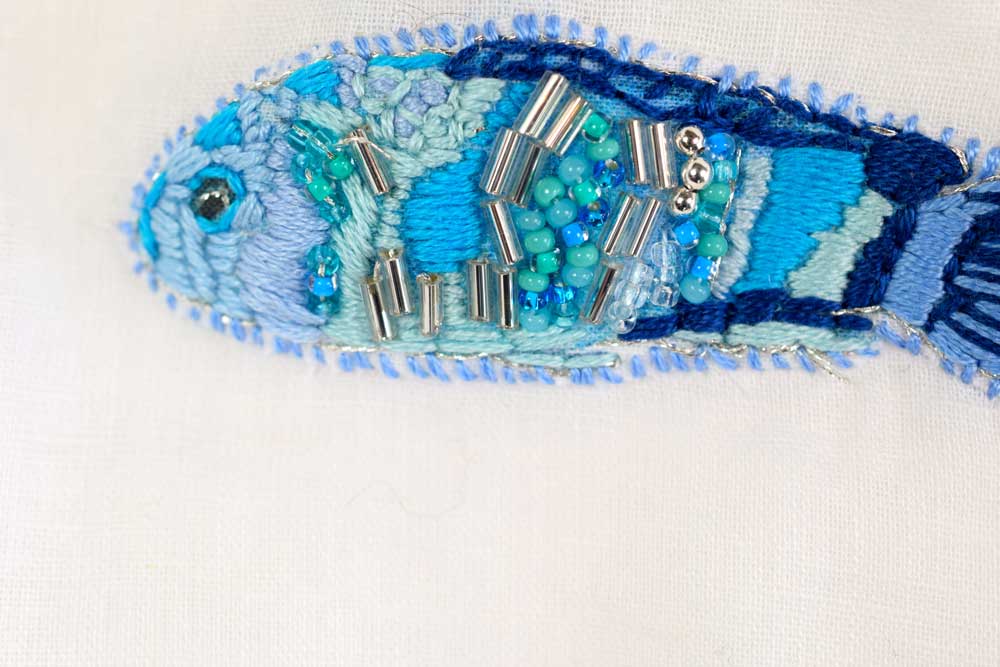
I use a metallic thread and go around the border of the entire fish.

After stitching around the fish with metallic thread, I chose a light blue thread to go perpendicularly around the border securing all the edges.

There are so many things you can use this technique for.
Onesies, zipper pouches, tote bags, jeans and quilting projects are all great used for applique.
Thank for stopping by and happy experimenting!
Warmly,
Pam