I hope you enjoyed experimenting with making some butterflies. I mentioned at the end of the last post how much I love making them because there are so many fun things you can do with your creations! I decided to do a short post with some fun ideas for your butterflies.

I painted a couple of butterflies in different colors. I then scanned them into my computer and used photoshop to make a couple of different sizes. I just wanted some variety to give you some examples of different things you could make with these. I like to start by cutting carefully around the edges with a nice sharp pair of scissors.

Next I wanted to show you a close up shot. I cut the upper wing from the lower wing. This allows me to then bend the upper wing upwards and create a 3-D look.

Here is what it looks like once the upper and lower wing have been separated. You just want to slightly bend the upper wing, then you can glue the middle part of the butterfly down and it gives the appearance that the butterfly is about to take off.

They look so great in multiples (especially with size and color variation.)
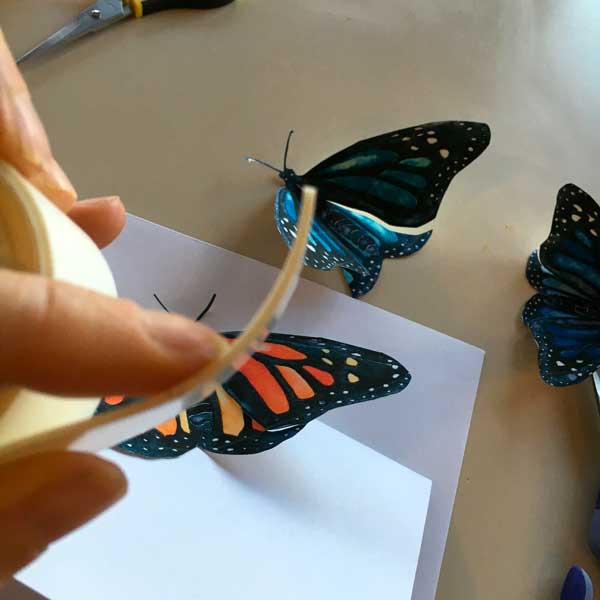
One easy thing to do is to make a unique card ( perhaps for mother's day.) Just cut out your butterfly as shown above. Next, adhere the body of the butterfly to a plain white notecard. You can use simple elmer's glue or a glue stick but I really like this foam tape for an extra 3-D effect. This can be found at the grocery store or any office supply store. I like to cut two pieces and stack them on top of each other.
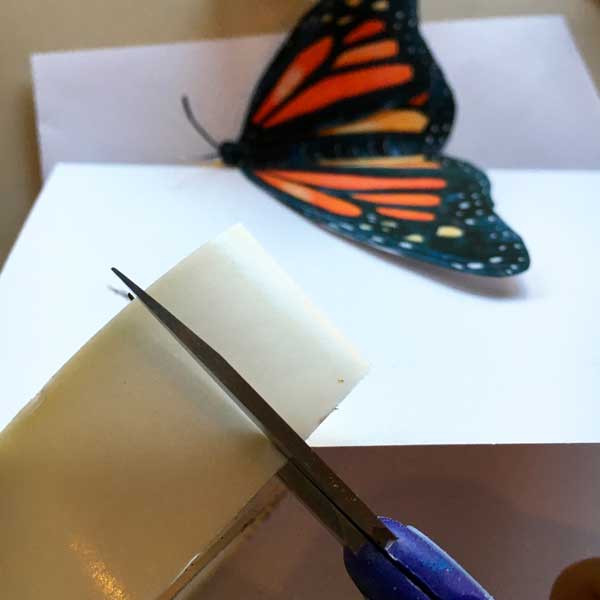

Two pieces of foam tape stacked on top of each other.

I stacked two pieces of two strips each and glued them underneath the body in the middle of the butterfly.

Center your butterfly in the middle of the card and press until it adheres. You can add some ribbon as an extra decorative touch.

These also make great gift tags. Simply punch a hole somewhere on the butterfly and string ribbon through it to attach it to a gift. It adds a really pretty and special touch. If you have made multiple copies, they look great just glued to the outside of the gift.

They would look wonderful just framed in a small square but another idea are these mini canvases and tiny easels. I just glued them on to show you what it looks like but you could paint the background or even mod podge decorative paper to this little canvas to really make your butterflies pop.

I love to use the butterflies with my hand clip art. I have made many of these to send as unique cards to my pen pals. If you take a close look, you can see that I sewed some beads onto the wings for some extra razzle dazzle. If you don't like to sew, you could find some gems with adhesive glue already on them and stick them right on.
Hope you are having a blast flexing those creative muscles! Sure would love to see your creations.
Very Warmly,
Pam