Embroidering on tulle has been all the rage lately. It is always eye catching to see delicate and colorful thread work weaved onto this fragile and transparent fabric. I couldn’t help but give it a try and wanted to share my adventures with you!
I’m sure there are many different methods but this is what I did and it worked great.
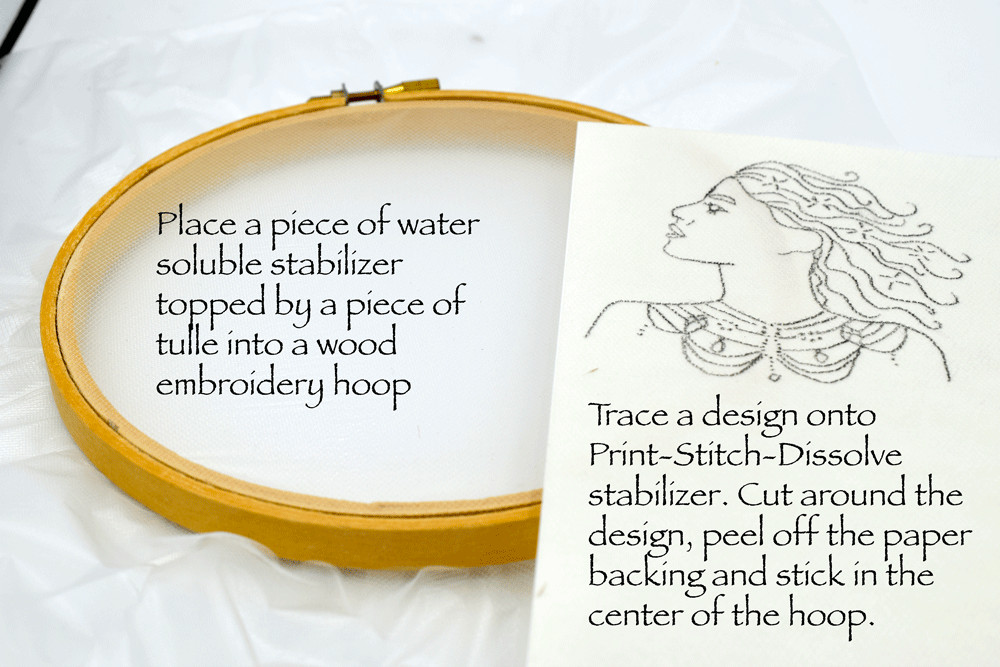
I started by cutting a piece of solvy stabilizer. This is almost the consistency of cling wrap. Then I cut a piece of tulle and placed that on top of the stabilizer. I placed the tulle covered stabilizer in the hoop and gently tightened it. This will add some stability to your stitching and when you are done, the stabilizer can be dissolved in water.
Pictured above is the stabilizer I used.
Here is the top view.
Next, I traced a design onto a piece of Stick-N-Washaway. I used my GODDESS pattern. You can find it in my Etsy shop HERE if you are interested.
Above is what I used to trace my design onto.
I cut around the design, then peeled off the paper backing and stuck it in the center of the embroidery hoop.
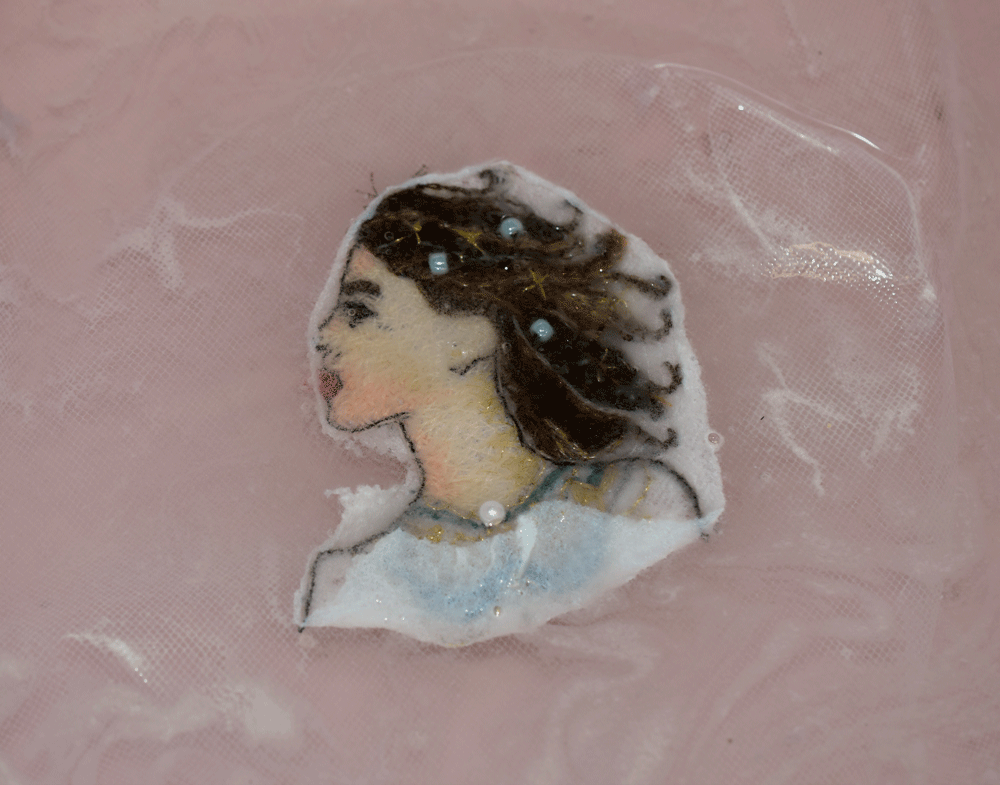
I stitched the design but instead of doing just the outline of the pattern, I filled in the face and hair. I also added some beads. Filling it in hides the stitch work in the back.
I removed the tulle from the hoop and soaked it in a warm water bath to remove the stabilizers. I placed the wet design between two towels to absorb some of the water then I hung it to dry. I used wooded laundry clips and attached it to a hanger. It dried in about an hour.
I placed the tulle back in the hoop and gently tightened it. Be very gentle. This stuff tears really easily.
I was so pleased with the results.
I really did not give much thought to how the knots in the back would look from the front and I still think it looks so delicate and pretty! I am anxious to learn a little more about hiding knots, thereby creating reversible embroidery. I am feeling so inspired to try more!
Thanks so much for stopping by! I hope you are feeling inspired too!
Warmly,
Pam


