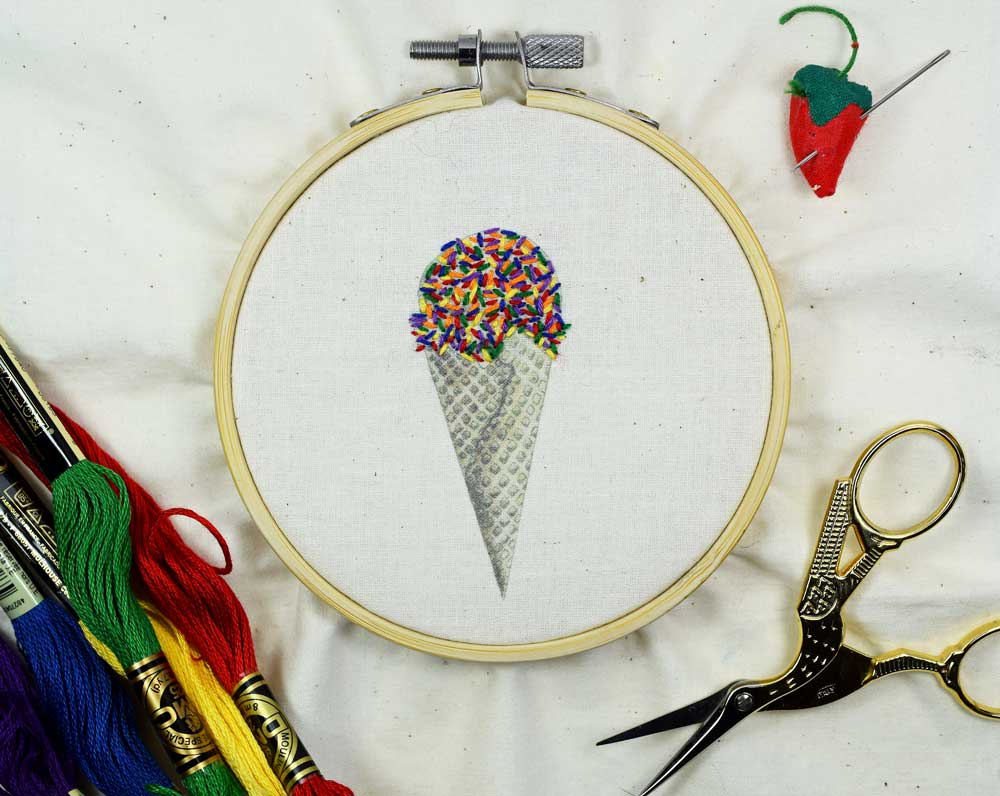
Want to learn a new stitch? This one is called the SEED STITCH. In the context of hand embroidery, the seed stitch is used as a filler stitch. It is simple a series of straight stitches that are even in size and evenly spaced apart but going in random directions. Some potential uses for seed stitch is filling in grassy areas, animal fur, and the one that I will demonstrate today which is sprinkles.

Gather up some simple supplies:
1. EMBROIDERY PATTERN WITH AN AREA YOU WOULD LIKE TO FILL - In this case, I am filling the ice cream on top of the cone with sprinkles.
2. SCISSORS - Small sharp tipped embroidery scissors.
3. EMBROIDERY HOOP - Pick a hoop size that your pattern can be centered inside of. In this case, my pattern was 3.5 inches maximum so I chose a 4 inch hoop.
4. NEEDLE - I recommend a size 7 embroidery/crewel needle as a great beginner needle. It is sharp, thin, and has a nice sized eye to fit multiple threads.
5. THREAD - I use DMC six strand embroidery thread.

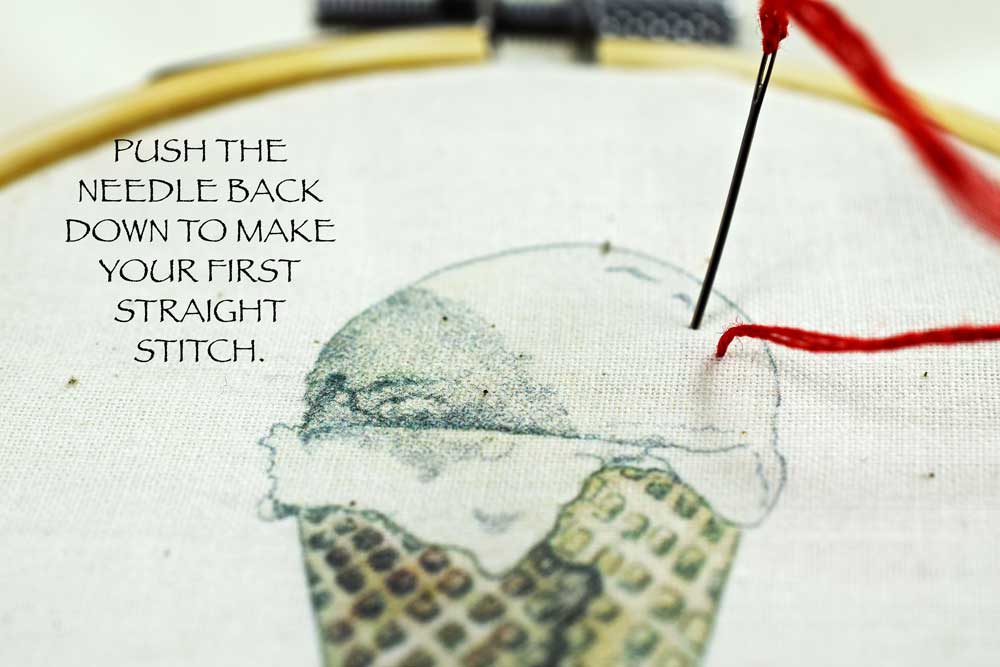
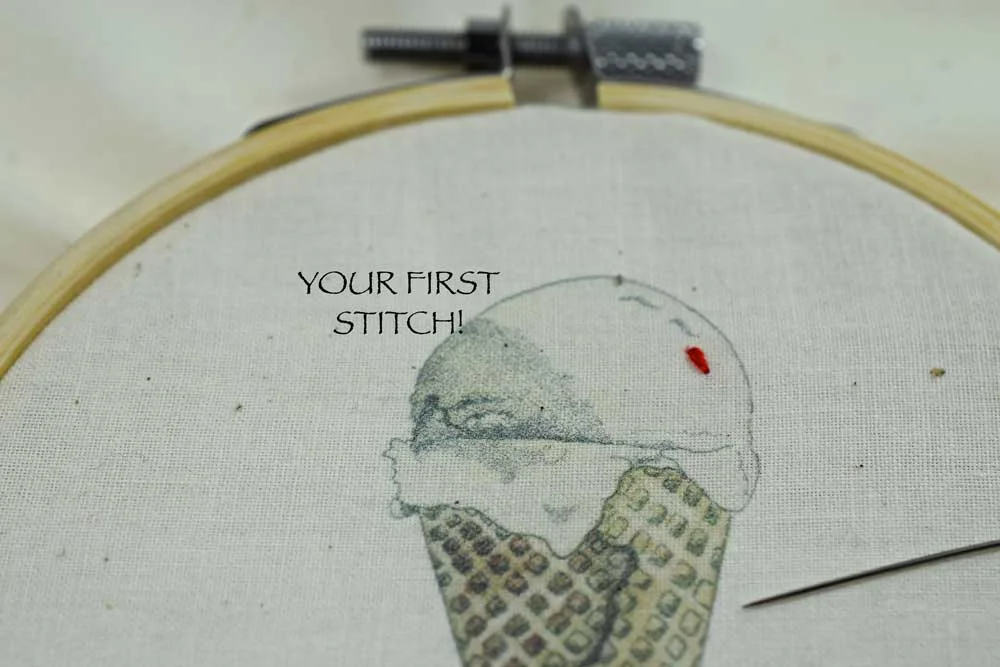
Once you have placed your fabric in the hoop and readied it for stitching by pulling it taut, thread your needle and make a knot at the other end. Now you can make your first stitch.

Pull your needle up from the back of the hoop where you would like to make your first stitch.
The idea is to make your stitches a similar size and spaced apart consistently but the stitches can go in all kinds of random directions, like rice. Another name for this stitch is called the rice stitch which is a great way to visualize what you are trying to accomplish.


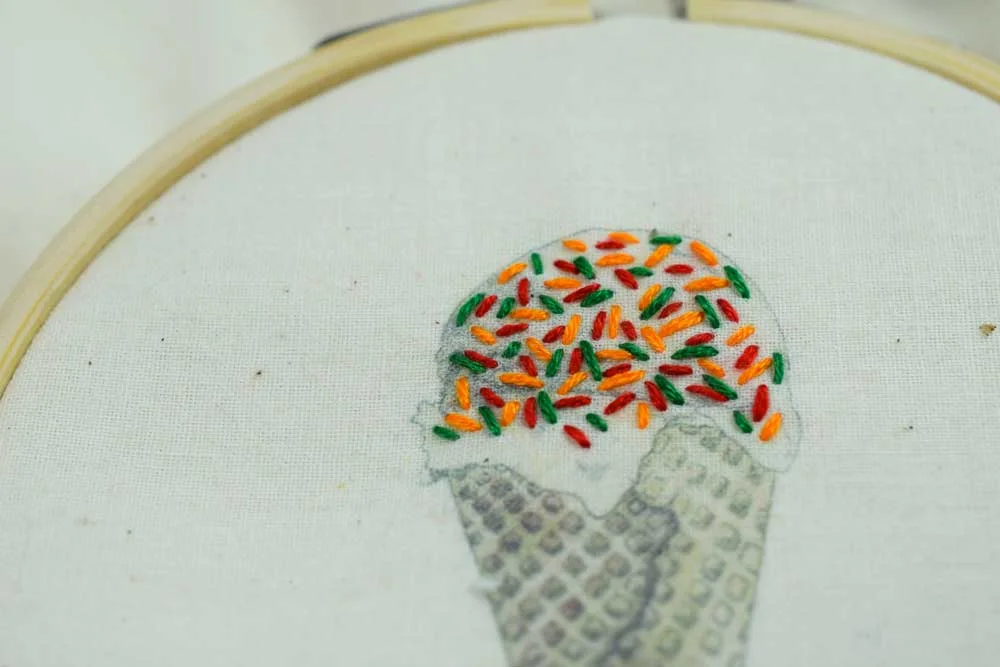

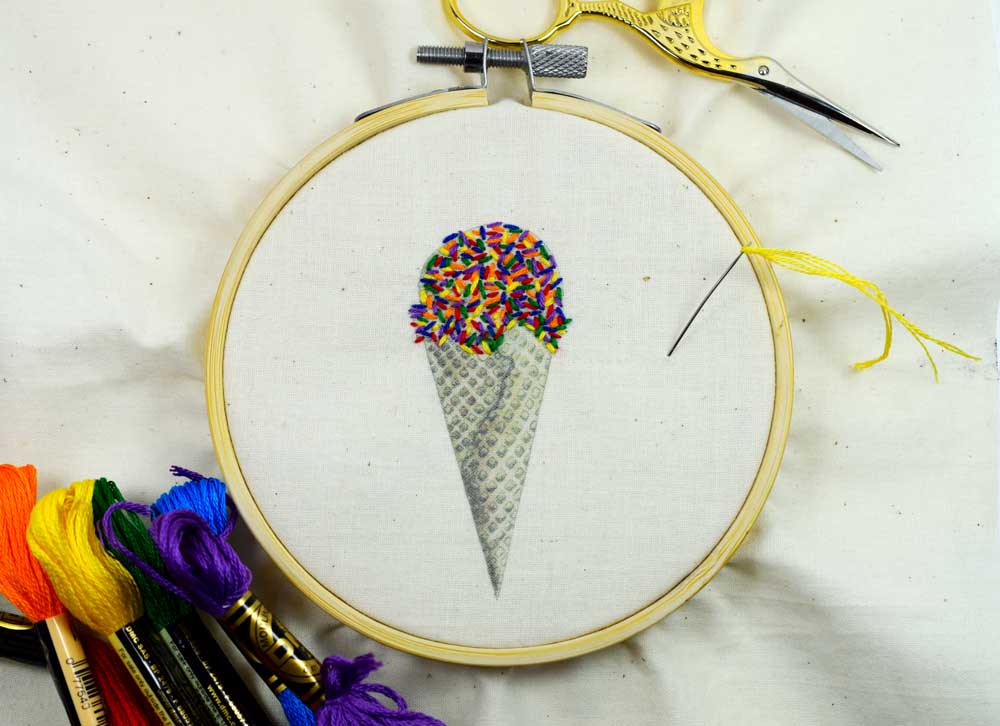
I continued to add sprinkles until the space was filled up with different colors. You don't have to fill the whole space if you don't want to. You can leave plenty of room around the stitches depending on the look and style you are going for. If you look back in some of the earlier pictures, you can have your sprinkles more sparse and spaced apart and that's just fine too!

I like mine fully loaded!
Thanks for stopping by!!! The ice cream cone is a FREE PRINTABLE which you are welcome to use to practice on your own fully loaded cone! It is also excellent to practice your french knots on! Simply print the pdf file. Tape the paper you have printed the ice cream cone on to a bright window. Tape a piece of light cotton fabric over it and trace onto your fabric using a fabric marker or sharp pencil. Would love to hear how you did!
Warmly,
Pam