I never leave home without my art supplies. Even if I don't think I'll have time to use them, I like knowing they are with me. You never know when you will get a stolen moment and the mood will strike and I never want to be without my art supplies when that happens.
I have seen all kinds of bamboo paintbrush holders so I decided to create one of my own. I'm not sure if this is the most efficient way to sew this but I was very happy with the end result. None of the steps are complicated but there are a lot of little steps along the way. This took me a couple of hours but that may be because I was making it up as I was going along. In any case, this project can be completed in an afternoon once you have all your supplies gathered up.

Here are the supplies you will need:
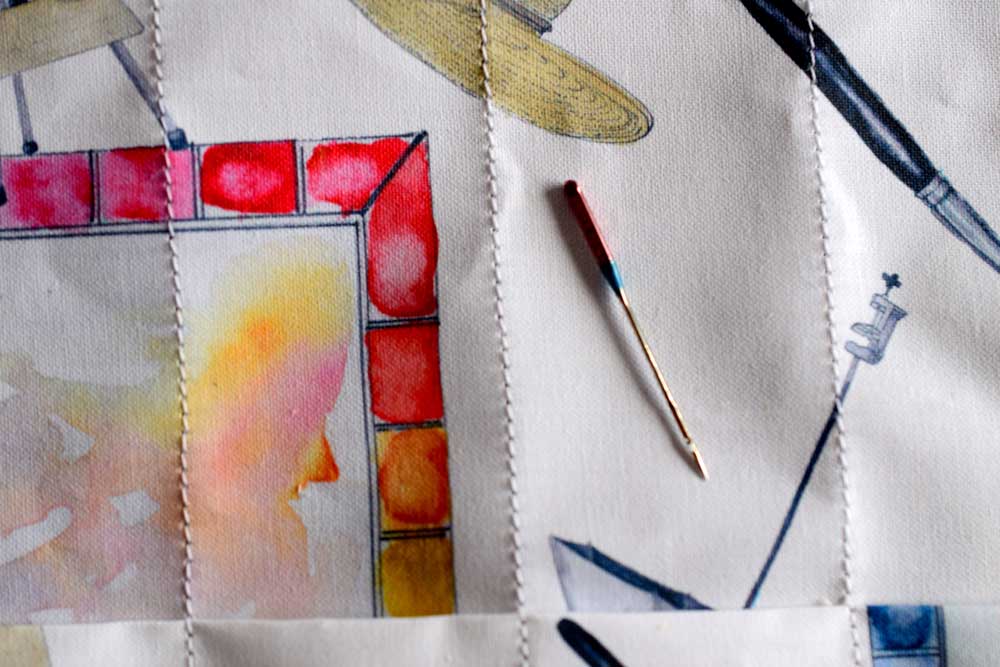
1. A placemat. I used a washable placemat from Target. The reason I chose this was that it was really easy to use my sewing machine on this material. I have also purchased some bamboo placemats to experiment with but it looks like they will need to be hand sewn since the bamboo is very thick and would likely break your needle if you try to use a machine. Also, the washable Target placemat was very easy to trim with scissors so you can customize it to the size of your choice.
2. Two rectangles of fabric (I used cotton but you could use a heavier fabric such as denim or canvas if you prefer). The measurements you will use can be customized to the placemat you use. My placemat was 14 x 14 after I trimmed it so here are the measurements I used
Smaller piece 4 X 16
Larger piece 8.5 X 16
Basically, you want to measure your mat and add one inch to allow for 1/2 inch seam allowances on each side.
3. Thirty inches of Double Bias Tape. This will be used to bind the edges.
4. Ribbon. This will be threaded through at the end to tie up your roll, I used necklace cording because it was thin enough to thread through my mat but strong enough to tie the roll.
5. *Optional piece of elastic (I used 16 inches). This is a great addition to secure your brushes better.
6. Rotary cutter or scissors for trimming fabric
7. Sewing machine with a heavy needle (the kind you would use for denim or canvas).
8. Iron for pressing

Here is my cheap-o placemat I got from target. It is a washable mat that is 14 X 19 inches.

I used my rotary cutter to trim down the mat to be a 14 X 14 inch Square.

Take your two rectangles of fabric and press them under 1/2 inch on the long sides. Do this towards the 'wrong side' of the fabric or the blurry side. You do not have to worry about the short sides since they will be tucked into the binding at the end.

Once you have pressed the edges under, turn both rectangles over to the 'right side'. Line the smaller rectangle up on top of the larger one matching them up at the bottom. Pin the bottom together and sew close to the edge.
*Ignore the crease I have in my fabric. I had small pieces of fabric that I had to sew together so that is why you see a seam here.

You can see, if you look carefully, the light marks I made where I will be sewing my vertical lines for the brushes.
Fold the piece in half to make a crease and sew down the middle where the crease is. Next, take a pencil and mark where you will be sewing vertical lines. I measured an inch and 1/2 between each so that there was plenty of room for a thick or thin brush. You can start at the middle where you made your crease and sewed a line and work your way to the right then start at the center again and work your way to the left.
Sew the vertical lines that you just marked. At this point, if you don't already have a needle in your sewing machine for heavy fabrics, be sure to put that on before sewing the fabric onto your placemat.

If you have opted to use the elastic, sew it about 2 inches above the smaller rectangle of fabric. I just lined it up and flattened it down then sewed it over each vertical seam. There will be a slight overhang on either side which you will trim before adding the binding.

Line up your fabric piece on top of your placemat. Line up the bottom of the fabric so it matches with the bottom of the placemat. There will be be a little bit of overlap on either of the short sides which you will trim later but make sure it is about even. Now sew down the bottom of the fabric to the bottom of the placemat close to the edge. Next sew the top of the fabric onto the placemat. Once the top and bottom are secured, sew over each of the vertical seams to further secure them to the placemat.
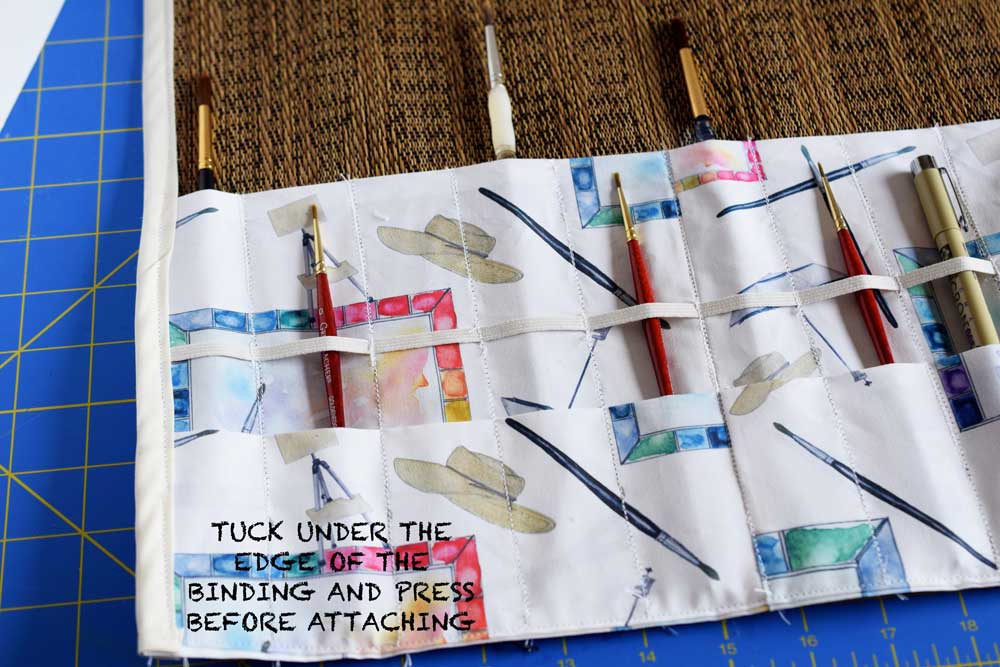
Once you have trimmed the elastic, now it is time to attach the binding. You will notice the binding is folded in half and pressed so it is ready to be sewn on. Before you do this, open the binding and tuck under the edges. Press them with an iron, then refold. This will prevent fraying on the edges of the binding.
Take your binding and fold it over the short side of the placemat then sew it close to the edge of the binding.

Once you have sewn your binding to the short sides of the placemat, it is time to attach the cording. Take the piece of cording and fold it in half. I used a safety pin and attached it to the middle of the cording where I folded it in half. I poked through the placemat with the needle about 1/2 way up the placemat then pulled it through just slightly so that there is a little loop and the remaining string will be pulled through the loop.
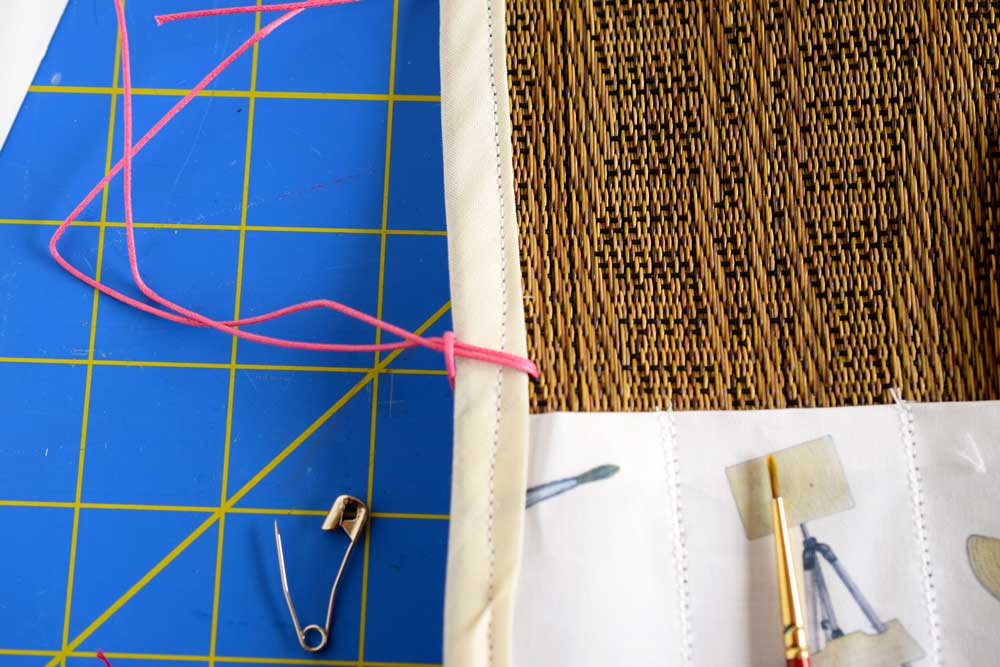
Take the string and pull it through the loop until it tightens.

That's it! Now you can roll up your mat and and secure it with your string.

Now load it up with your favorite implements, roll it up, and away you go! You never have to leave home without your beloved art supplies again. You can accommodate varying sizes of implements in the different sized pockets. It is both tall enough to house long brushes or cozy enough for your smaller ones.
Thanks for stopping by!
May your travels bring yournew inspiration and when that does happen, may you never be without your art supplies!!!


Warmly,
Pam