I am a big fan of medium mash-ups. It is so much fun to create unexpected combinations of materials and “break the rules” (what rules?). In past posts, I have used embroidery on unexpected surfaces such as paper HERE. I have used watercolor paint on fabric HERE. I have even embroidered on leaves HERE and on window screens HERE.
Today I wanted to try something a little different. I am adding stamps to the mix. I got the idea to stamp fabric with decorative designs and then embroider over them freehand style. It gives the stamp both color and dimension and turns it into your own unique creation. This is such a fun and relaxing way to practice your stitching while stretching your imagination and creativity.
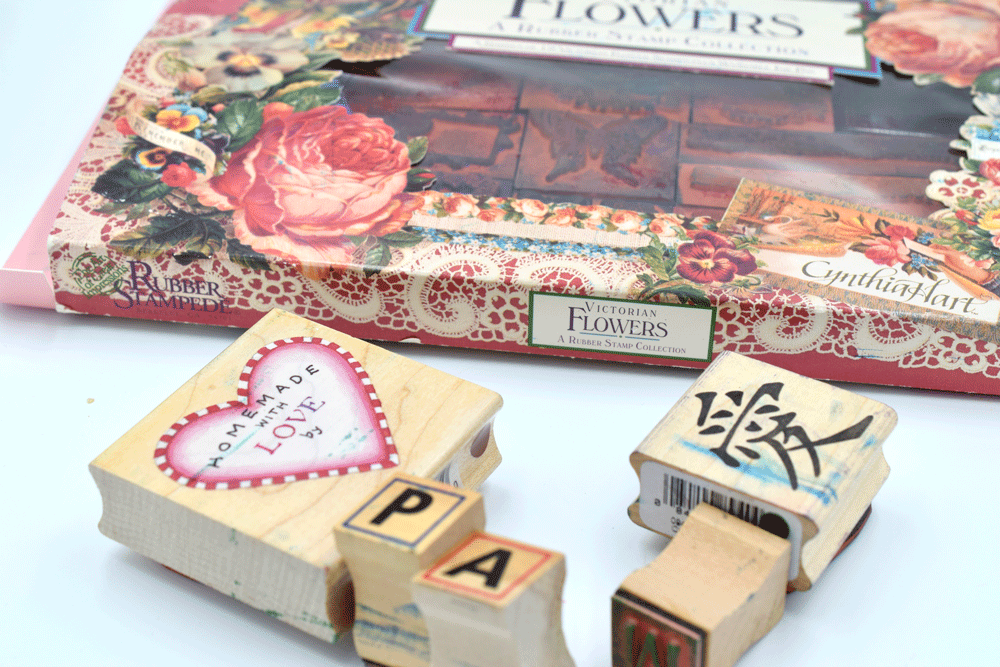
Do you have some old stamps around? Hanging out on a drawer somewhere? Could be anything. I had some letters and old victorian flower stamps so I pulled those out. There is at least a whole aisle dedicated to stamps at the local craft store.
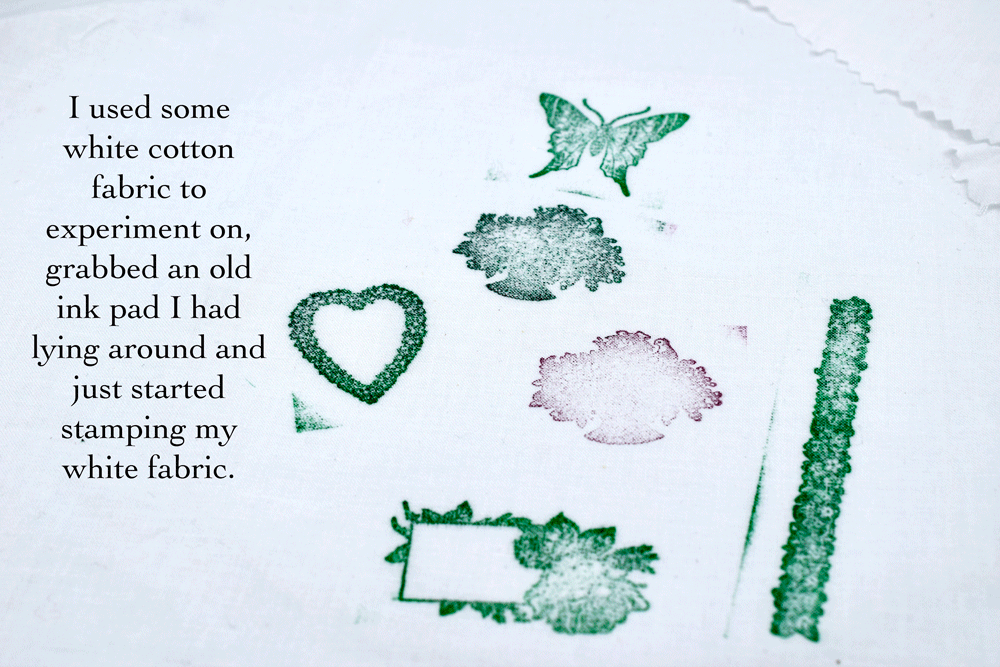
Grab some scrap cotton fabric such as muslin or a solid cotton Kona. Make sure you wait for the ink to dry before stitching so it doesn’t smudge. If you are going to be washing your fabric, you will have to pay more attention to your ink and get an ink pad that is permanent vs. water soluble or you might have a mess on your hands. I used this green ink. I don’t think it’s permanent but I will not be wetting it so it doesn’t really matter.
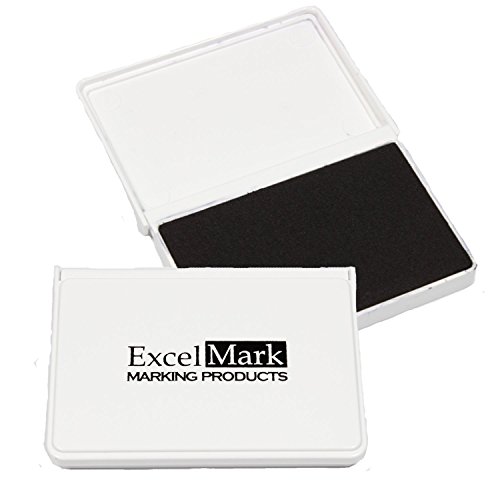
I used just a regular old ink pad for rubber stamps like the one above.

I added some letter stamps to make my name and my logo stamp. I also added some interfacing to the back of the fabric to give it some stability before sewing on it.

Above is the interfacing I like to use. It is very easy to apply to the back of your fabric. Simply face the textured side up on your ironing board. Lay the cotton fabric with the right side up (Wrong side facing the interfacing) and gently iron to fuse them together. The texture on the interfacing is glue that melts so the iron heats the glue to bind the fabrics together.

Fit the fabric into the hoop to stretch it nice and tight.

Here I add some FRENCH KNOTS, SATIN STITCH, and STRAIGHT STITCH with some pretty variegated thread.

I added some FRENCH KNOTS to this heart to create a wreath. I decided it needed a little banner in the middle so I used a pencil to sketch a simple banner then stitched it using BACKSTITCH.


I loved using FRENCH KNOTS and BULLION STITCH to create this sweet bouquet.


These are great in tiny picture frames or as appliqué which you can learn about HERE.
Hope you give it a try.
Thanks for stopping by!
Happy almost Thanksgiving!
Pam
*This post may contain some affiliate links.