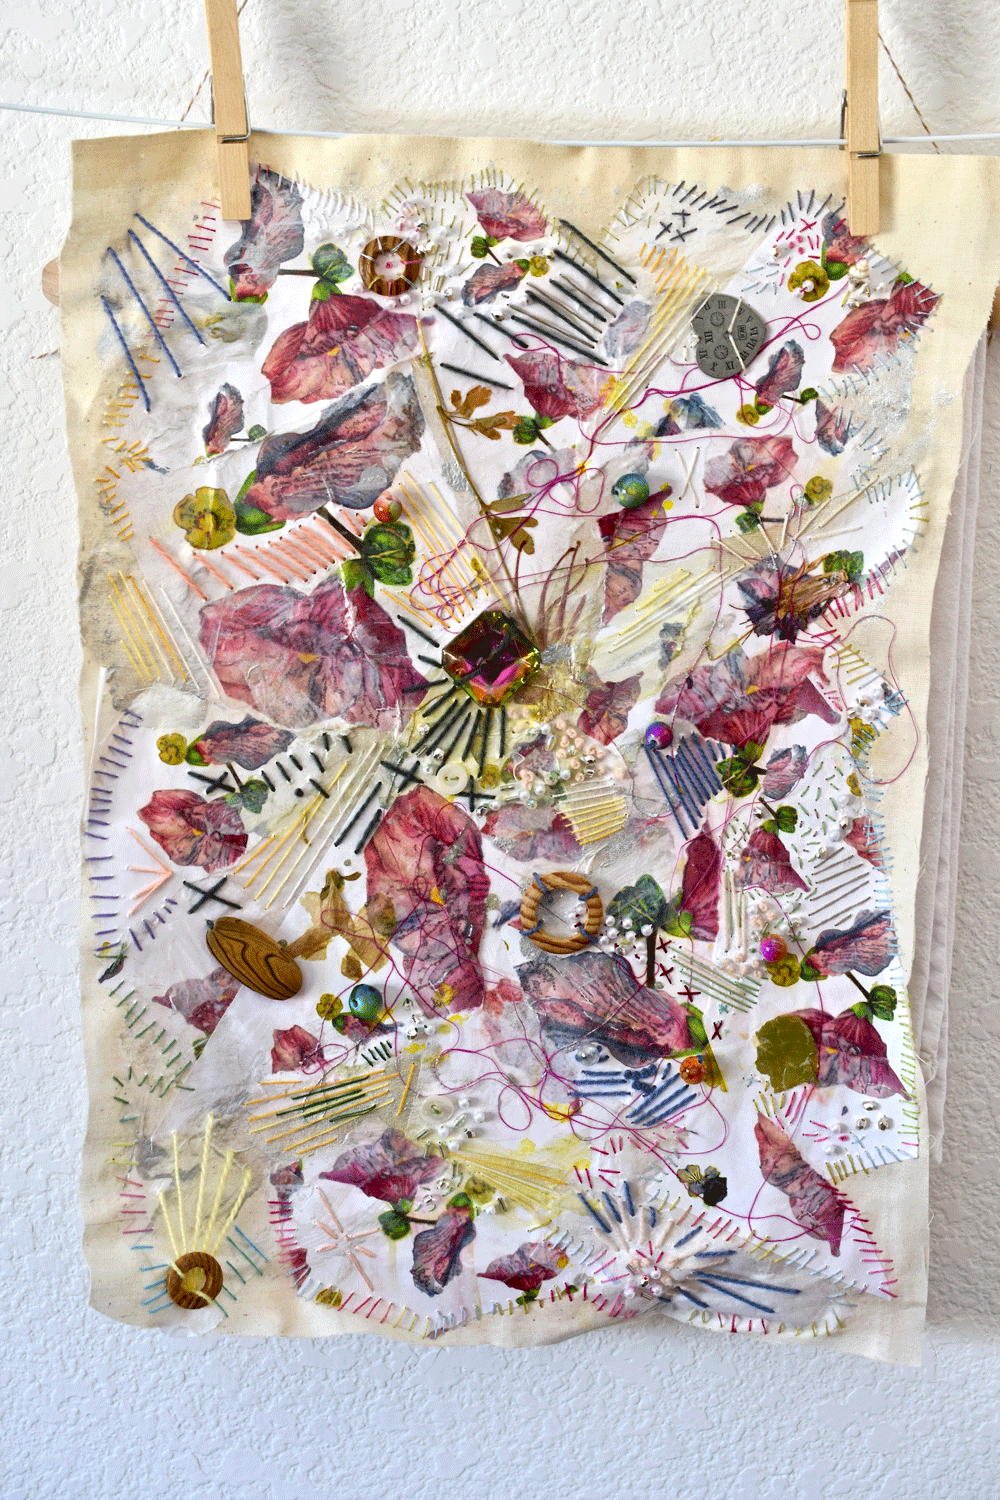
Ever heard of paper cloth? How about fabric paper? I hadn’t either until I was browsing Pinterest one day and came across this interesting hybrid of mixed media. It is exactly as the name would suggest. It is a combination of paper and fabric bound together using a watery glue. It seemed like a fun thing to try. In case you want to follow along, here are the steps to get started.
Get freezer paper (or wax paper) to cover your work surface. (Freezer paper has one paper side and one shiny non-stick side. Wax paper is when both sides are shiny and non-stick.) The shiny side will prevent the fabric from sticking to the surface after glueing. Next, choose a fabric. A thin gauzy fabric like muslin is a great choice. (This can be called calico in countries outside the U.S.). Place your muslin piece of fabric on top of the shiny side of your paper.
Next gather some things that are near and dear to you to bind onto your fabric:
I think tissue paper works best but I wanted to really go for it with experimentation so I gathered dried flowers, paper with a watercolor design (I printed some of my watercolor flowers on standard printer paper), thread, and some white tissue paper.
I used watered down mod podge for the adhesive; one part water to one part glue. You want a fluid type consistency. I used a matte glue so that it would dry clear but mod podge has a variety that is glossy if you want a shiny finish.
A nice big wide flat brush would work a lot better than this tiny one I was using!
You have a little time to adjust your pieces if there are big air bubbles you want to flatten out.
I just love that delicate dried Columbine flower. I also tore up some of the white tissue paper and added strips in some of the spaces that looked like they needed some balance. It is always a good idea to walk away and come back to a project to gain perspective. Taking a photo also helps. My mom just reminded me of the mirror trick. Hold your work in the mirror for yet another fresh perspective.
I wanted to bring in some perky yellow and sparkly silver.
I added blobs of yellow and silver where my intuition guided me to. Guess it would have been better to add the paint before the thread but I never said I was practical:) A better order would have been to add thread and flowers last since they are harder to adhere and also because they have dimension.
Clumps of dried flowers….
And then I took things ‘next level’ and dumped glitter over the place. If I had to do it over again, I would add this last. You will shortly see why. Still, there are no ‘mistakes’ just experimentation.
I added some long yellow embroidery stitches. This is what I was referring to above about the glitter. It was rubbing off as I was sewing.
This probably looks like a big mess to you but to me, it’s my insides on the outside. Florals, pinks, sparkles, some rigid lines, some tangled and messy. Yup, that’s me.
The creation of this was so cathartic and in the end I love the piece because it is a true expression of me. I haven’t yet decided what I will do with it yet. I have a black and white picture that might just be the thing to add. Paper cloth is also great for book making and journal covers.
I added some beads and sparky gems. The paper becomes more pliable the more it is worked.
I put this big gem near the middle……because how could I not. I added some thick straight stitches using wool thread to add texture.
In the end, I decided to just hang it on my wall but there are so many things you can make with paper cloth. They are often used to make art journal covers but your could also cut it up to make smaller mixed media projects. This was such a fun project and, for me, was more about the journey than the final destination. It is a great way to practice some of your beginner stitches and express yourself at the same time.
If you want to learn and practice your beginner stitches I have a dish towel sampler available at the shop HERE. Then use your beginner knowledge to create your own masterpiece.
Hope you give it a try. It’s really fun and satisfying in some way.
Thanks for stopping by,
Pam


