
I am surrounded by horse farms where I live and I love seeing them trotting around in the long grasses with beautiful mountain backdrops. While I never had the strong desire to ride horses, it brings me such peace to look at them. This is what inspired me to create this fun little free printable doll to color and put together!

Click HERE to get your free printable PDF
It is a fun little project and easy to put together with minimal supplies needed.

First, print out your free PDF file. I would recommend printing this on some heavy white paper so your doll will be a little more sturdy (some white cardstock). If you plan on using watercolor, you may want to print on watercolor paper. I printed on a heavy weight construction paper.

Next gather a pair of scissors, a needle, and some brads (these are fasteners that are easily found in any craft store and sometimes in the office supply section of your grocery store, as well.) If you would like to decorate your doll, gather some colored pencils, markers or paint for decorating. You can get creative and use your imagination here.

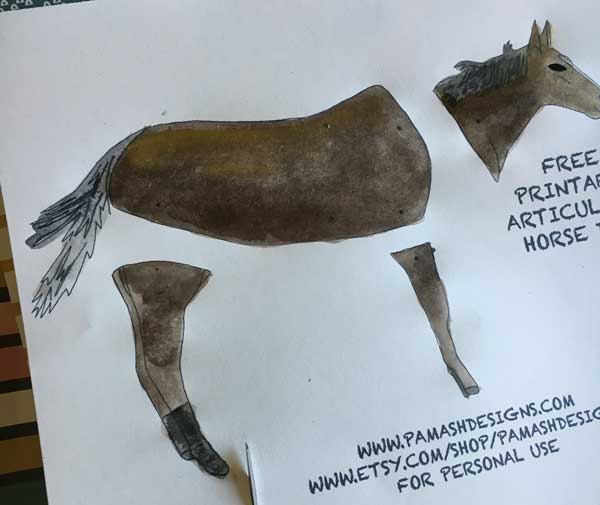
I decided to paint mine. You can find a lot of reference images if you do a search on the internet. I decided to make mine brown but this is the fun part. Go crazy! Make it purple with stripes if you want! Have fun.

I just brushed on some browns and golds and a little black. You can be sloppy since you will be cutting the horse out anyway so go ahead, this is your chance to color outside the lines and not give a hoot!
When you are satisfied with your decorating, cut each piece out.
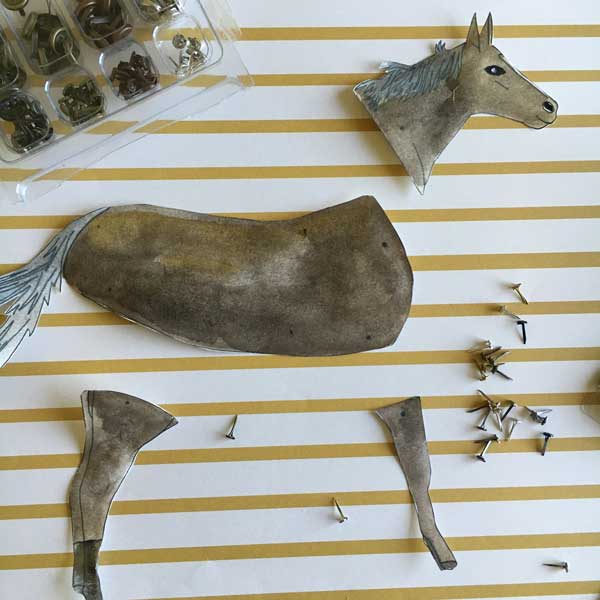
When you have all your pieces cut out, get your brads and start to attach the legs and the head to the body using the little black dots as your guides.

Now use a pin and poke the holes where the brads will go.

If you don't have a needle you can also use the sharp tip of your scissors to poke a hole.

There are corresponding black holes where the legs and head should line up on the body. Line them up and insert your brad through both holes, then open the fastener part in the back. See the picture below:


Next I tried a few versions with colored pencil;


There you have it! Now you have a cool little pose-able doll. There are so many different things you can do with this. It would make a really cool present topper, especially for someone who is a horse lover. Punch a hole in it, and tie some ribbon to attach it or to hang it as an ornament. It would also be a fun card you could write on the back of for any occasion. This also makes a fun summer project for the kids! They would make fantastic bookmarks for your summer reading. Print a bunch and get your adult coloring relaxation fix.
Well, hope have some fun making these!
Happy Summer 'Arting'
Warmly,
Pam