I am always looking for projects to make with smaller pieces of fabric since I usually have fat quarters laying around. I came across THIS adorable tutorial and was so excited with how easy it was! I love making something practical that you can use right away so I thought I would take you through step-by-step:

Here are the supplies you need:
Two pieces of fabric for the handles (4 x 18 inches each).
A piece of outside fabric and liner fabric that are both 11 x 18 inches.

Start by making the handles. First fold one of the pieces in half lengthwise to make a crease.

It is faint but can you see the crease mark in the center? You can use this as a guide for folding.

Now fold the left and right sides up to the crease you just made and press.

Fold that strip in half (the crease is on the inside of the fold) and press.

Sew very close to the edges on each long side of the handle.

Repeat with the other handle piece.

Pin your handle pieces on to the right side of the liner fabric 2.5 inches from the edge of the short sides of the fabric.

Place the outer piece of fabric right side down on top of the liner fabric with the handles.

Line up and pin the short sides and sew them with 1/4 inch seam allowance.

Once both of short sides have been pinned and sewn, move the seam to the center. Line the top seam and the bottom seam and press the seams open.
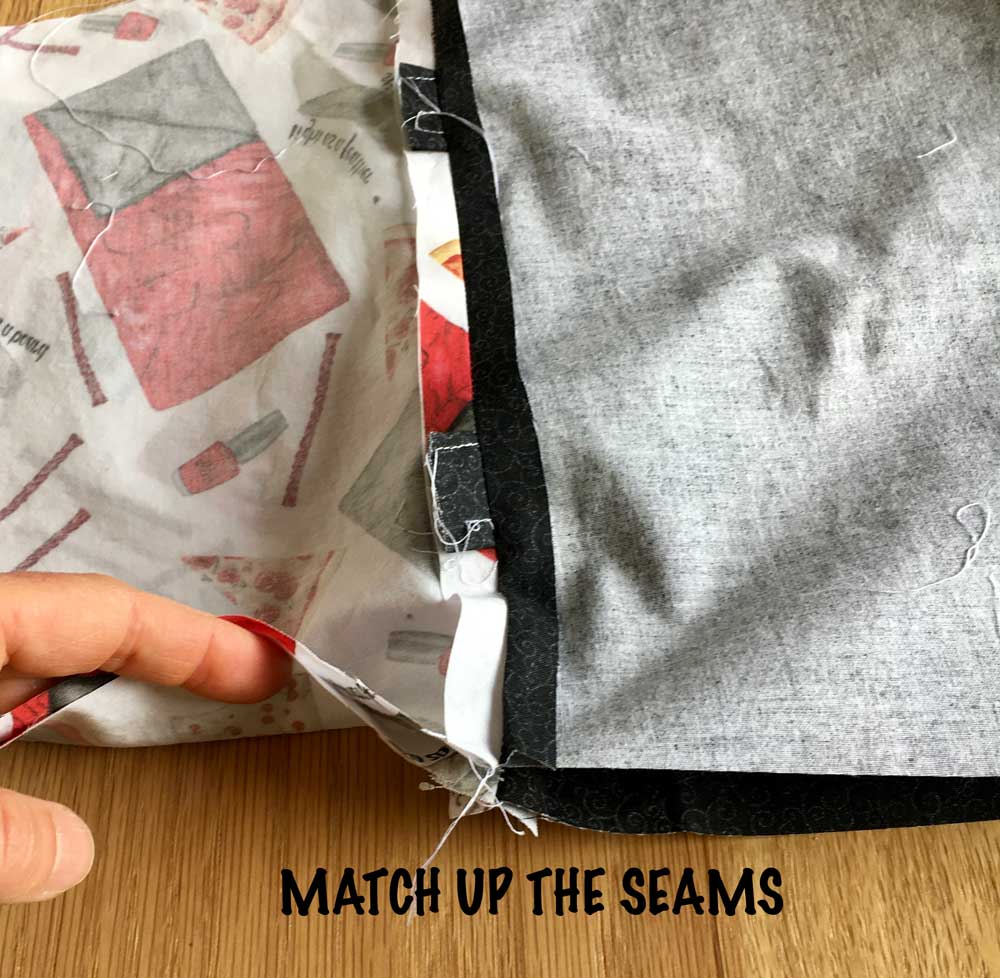
Once you have matched the top and bottom seams, pin around the long sides leaving a 2.5 inch opening in the liner for turning inside out.

Pin the long sides
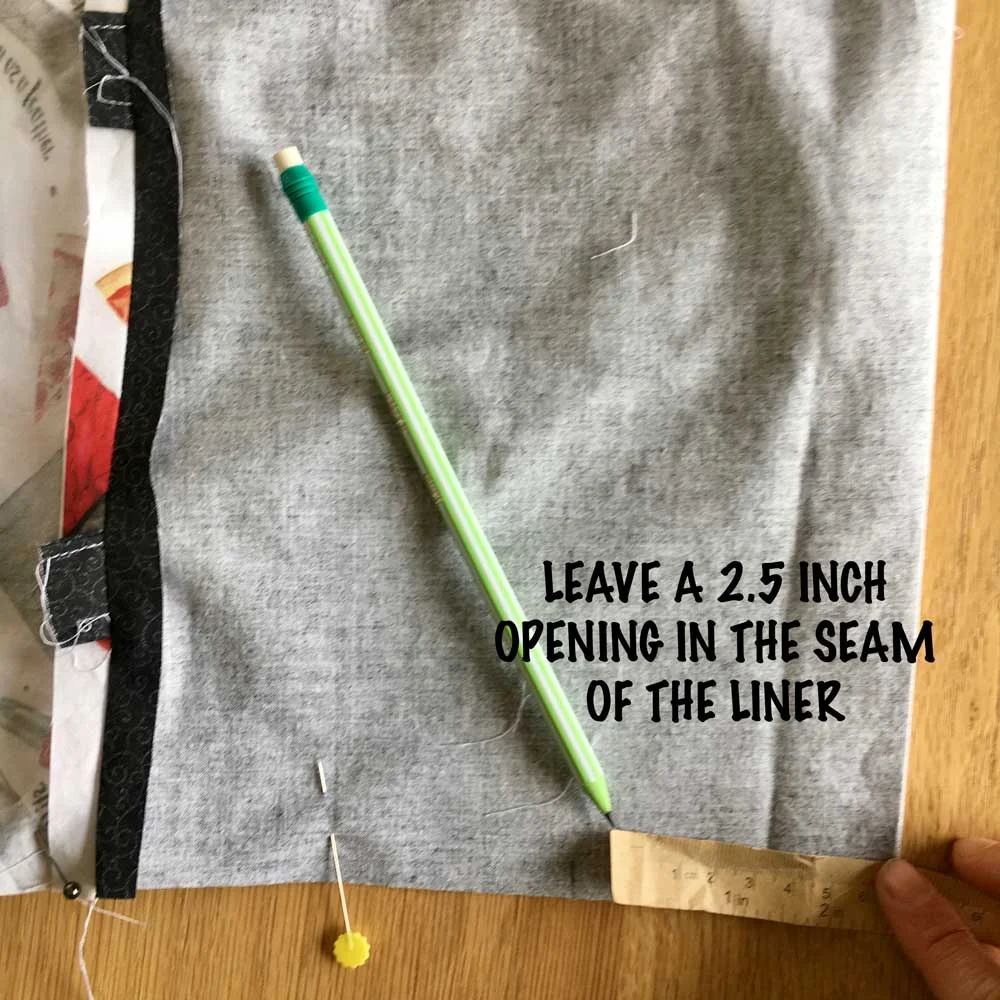
Leave a 2.5 inch opening in the liner for turning. Sew the long sides with 1/4 inch seam allowance.
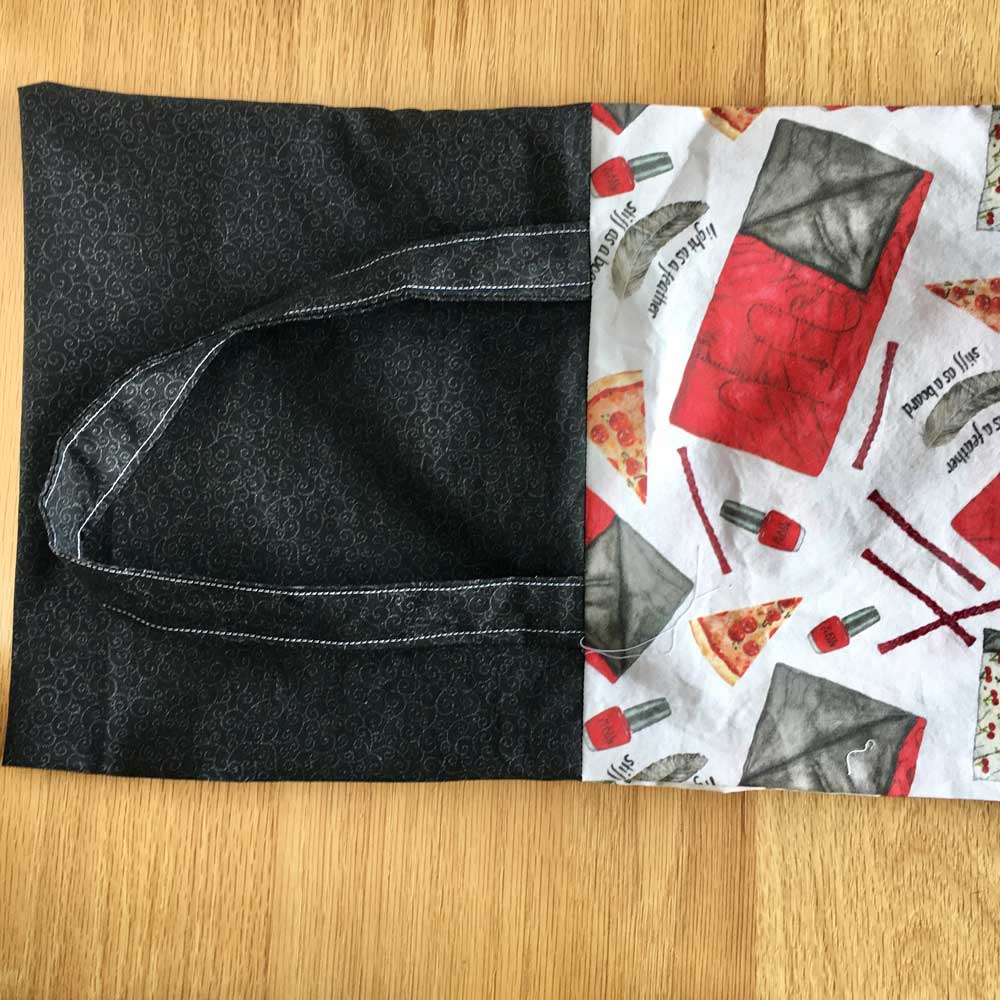
Once the long sides have been sewn, turn the whole thing inside out through the opening in the seam.

sew the hole in the seam by topstitching. A coordinating thread would be more invisible but I just wanted you to be able to see the contrast. You can't really see this since it is inside the bag.
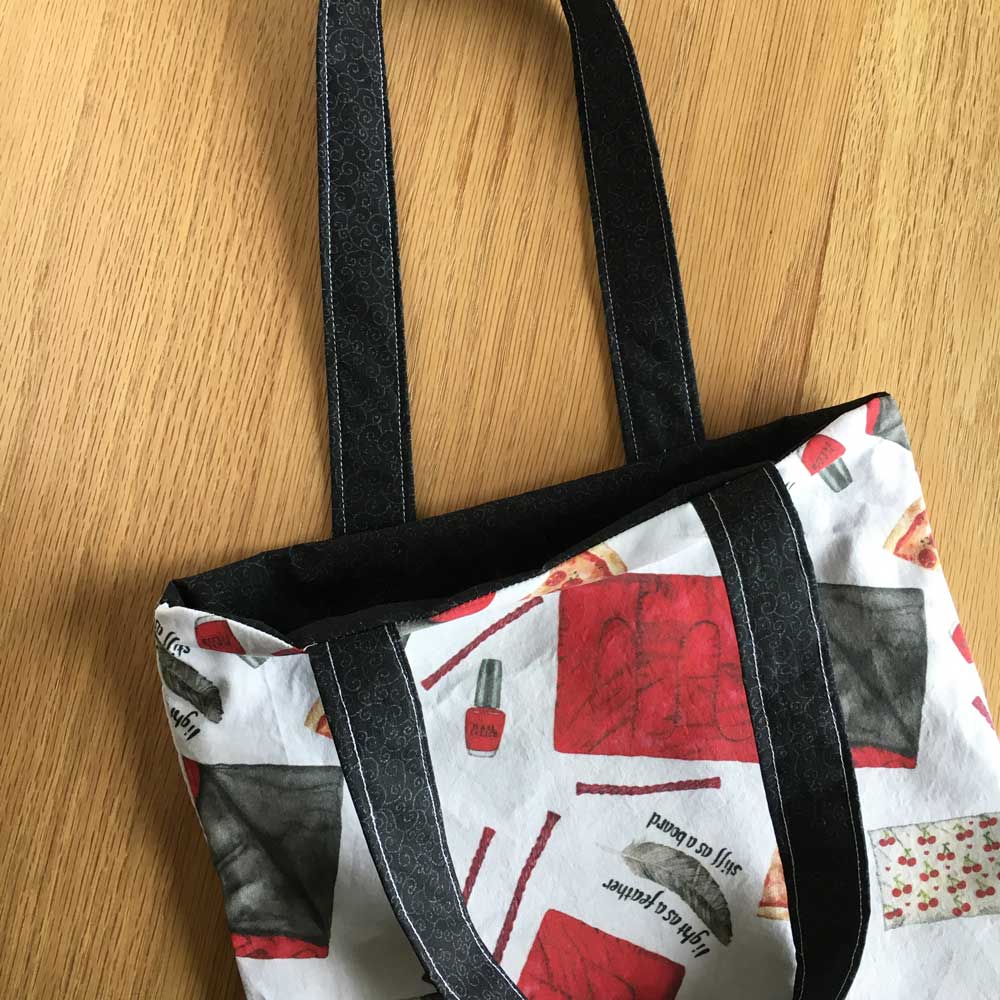
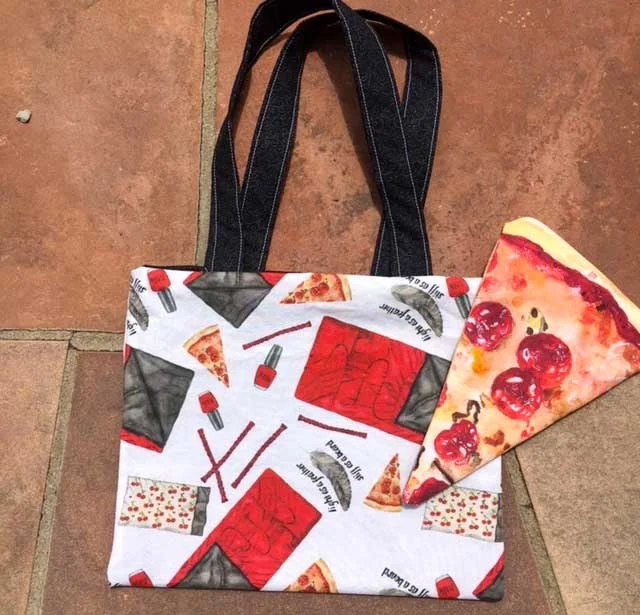
Tuck the liner in your bag and you are done!

I pressed it to finish it off. That's it!
If you enjoyed this project, you might also like these EASY COASTERS, these EASY FABRIC DISH TOWELS, or this TISSUE COVER.
If you like this 'Sleepover Fabric' it can be found at my Spoonflower shop HERE.
Thanks for stopping by!
Pam