Recently (o.k., a year ago!) I had the pleasure of visiting my friends's parents house to view the eclipse. The trip was so magical I have been trying to come up with a special thank you. My friend's parents own a charming flower shop so I decided create a small watercolor painting of their shop. Not fully satisfied with the painting, I decided to print the painting on cotton fabric and embroider it.

I scanned the watercolor painting into my computer then sized it in photoshop to fit into a six inch hoop. I made a test print on paper to check my sizing which you can see in the photo above (The colors can be a little "off" when printed on regular paper.)
Once satisfied with the sizing, I printed the image onto a piece of white cotton fabric. This can be done on a home printer by using a spray adhesive to attach the fabric to a piece of card stock then using a rotary cutter or scissors to carefully trim the edges. Feed the card stock with the fabric side facing the direction that prints in your printer, in my case the fabric side faces up. If you would like a more detailed explanation you may visit my blog post HERE on how to print on fabric.
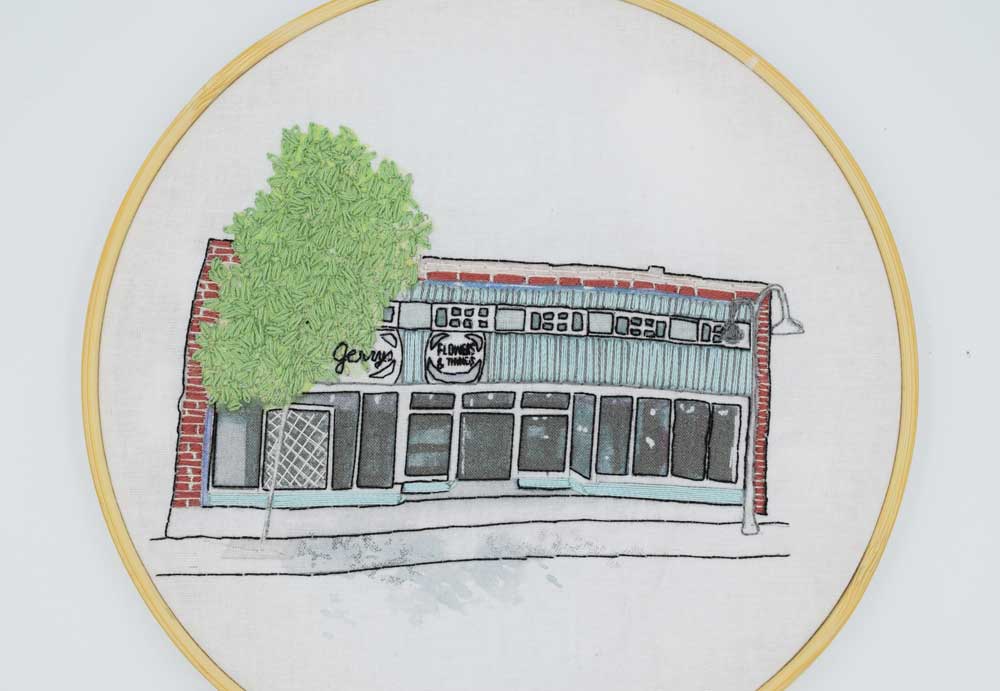
Once I printed my design, I centered it in my wooden hoop. Originally, I was just planning on adding some simple highlights but in typical fashion, once I started I could not stop. A friend once told me she had an art teacher in college who said to stop when you think you are 80 percent finished. I thought that was brilliant advice to people who have a tendency to over-do things, like myself. Trying to keep that in mind as I work.

I started the project by outlining the building, windows, and signs using one thread of cotton floss. I mainly used one thread throughout the project to better emphasize all the small details.

For the tree in front of the shop I used two threads to make the LAZY DAISY stitch. I kept layering them on top of each other to represent the leaves and then added a different color green as well to add some variation.
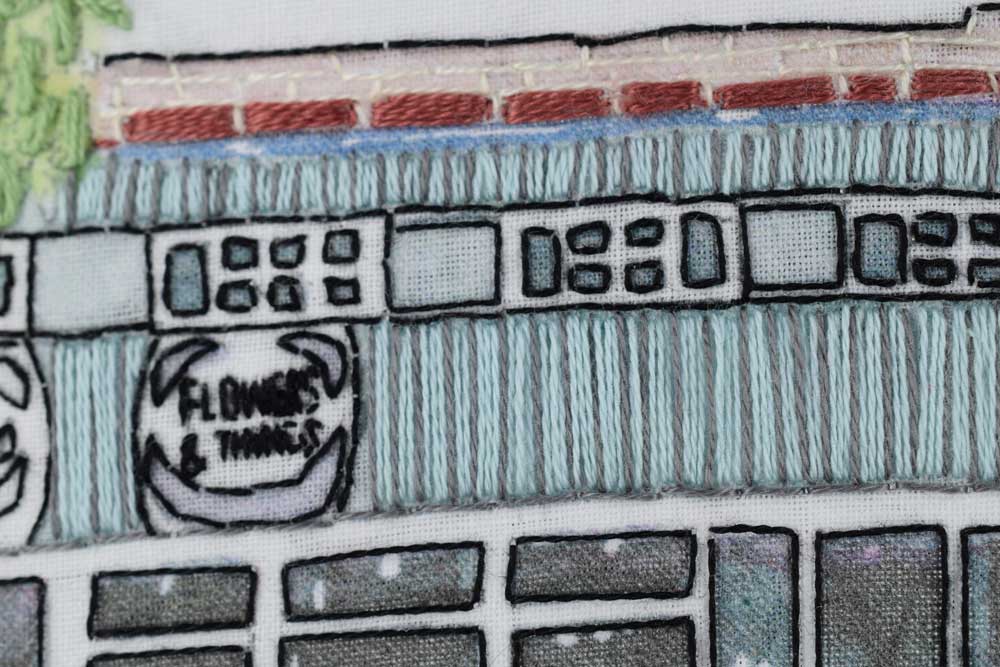
To create the look of the shingles, I used the SATIN STITCH with a single thread of cotton embroidery floss. To create the look of the brick, I first outlined the grout areas with a single strand of white thread in BACKSTITCH. Next I used a single thread of floss and created each brick using THE SATIN STITCH.

Here you can see the bricks are completed, I added the some detail to the tree such as the brick part at the bottom and the branches. I completed the street lamps and added highlights, some shadow to the curb in front of the street, the blue-ish purple piping around the shop and the white window trim. So difficult to decide when that eighty percent rule applies. Trying to decide whether I should add embroider all the windows, add some more shadows on the sidewalk, and as a final touch, add the address with a floral branch around it.

....And all done!. I added some white thread around the windows and the address surrounded by floral branches to finish it off. A good place to apply the 80 percent rule!
Well hope you enjoyed following along.
Thanks for stopping by!
Pam