Have you ever heard of something called ‘white work’ in an embroidery context? Just as the name suggests, this technique involves using white thread on a white background. The monotone adds an elegance and subtlety to the embroidered piece. There are certain fabrics, threads and stitches that are favored for this technique (such as linen fabric, perle thread, and satin stitch to name a few). I am going to break the rules and experiment a little with this technique.

I used a white cotton fabric as my background. I also applied interfacing to the back of the fabric to make the fabric more stable and less transparent. My thread of choice was white six stranded cotton embroidery thread.
I used my lotus flower from my ‘Agree to Disagree’ pattern. If you are interested it can be found HERE.
I traced the design onto my fabric using a mechanical pencil. I would probably use a transfer pen if I were to do this over again since you could see the pencil lines but I ran it through the wash and that got rid of the lines in the end. I like to use a disappearing ink transfer pen like this one below.
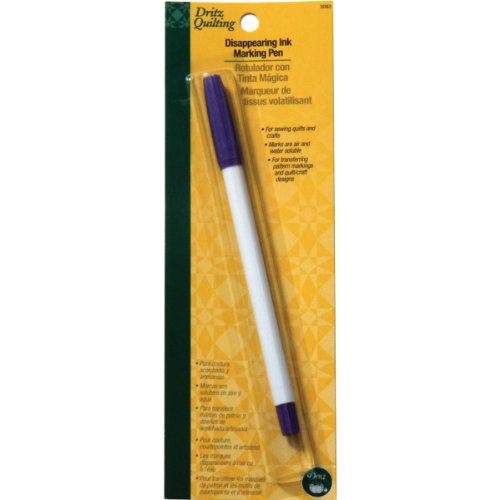
The ink does fade so it is a good idea to do the embroidery in small sections before the ink has a chance to disappear.

After I traced the lotus flower, I added some henna-like embellishment. I thought a henna design in white work would be a very elegant combination. If you want ideas, search ‘henna designs’ on the internet. There are infinite possibilities. In addition, if you look up “how to make henna designs” there are some wonderful resources that offer the basic henna shapes to get you started. When you break it down, henna designs are a simple series of shapes that are repeated over and over. You can even start with something like a simple flower with oval petals and go from there.
I used some simple beginner stitches to start sewing over my pattern.
I used the SPLIT STITCH to outline some areas.
I used the SEED STITCH as a filler.
The LAZY DAISY or petal stitch is great for making leave like stitches.

You can see a lot of the pencil underneath the stitching so ran this through the wash.
Much better.

I decided to make a pretty little white zipper purse.
To make a zipper purse, you will first need a zipper. I used a 9 inch size since that is what I had. You can mark and cut your zipper to size if it is too big.
I also trimmed the fabric piece so that is was a nice square-ish shape and used that as a template to cut another piece of white cotton for the outside and then two pieces of muslin for the liner.
(To learn how to make a simple quilted zipper pouch click HERE to see my tutorial.)
There are also many fabulous tutorials on how to make a simple lined zipper pouch. It is a great beginner sewing project to learn and pairs especially well with your embroidery projects!


That’s it. I added a little pom-pom to the zipper. I’m thinking a few beads would also look great in white work!
I clearly took the ‘more is more’ approach here. I think when I try this again, I will go for a more minimalistic design.
Hope you enjoyed the post and it has inspired you to try some white work experimenting of your own!
Thanks for stopping by!
Pam