This post is actually a throwback to my childhood. Not too long ago, before we had cell phones and video games, we were forced to find ways to entertain ourselves. It got me thinking of a fun game my sister and I used to play to pass the time. We didn't have a name for it back then, it was something we just did to amuse ourselves but for today's purposes I named it "magazine graffiti".
We used markers, pens and pencils to doodle on magazine photos and add mischievous details. I thought this would be a really fun way to practice your beginner embroidery skills and I had such a blast making these.
Want to give it a try?

You only need a few simple items:
1. OLD MAGAZINES - My favorite magazines for this purpose are fashion magazines since there are lots of close-up portraits but I found some great pictures in fitness magazines too. I particularly love the pictures of people whose faces were straining. There is a lot of fun to be had with those!
2. EMBROIDERY STABILIZER: This is the kind of stabilizer with a paper backing that your can peel off and stick to the back of the magazine photo you have chosen. This really helped to prevent the paper from tearing.
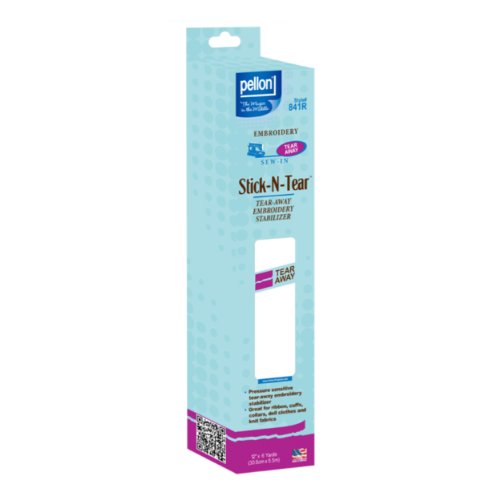
I used this kind pictured above. It comes in smaller sizes too. Mine was a sheet of 22.5 x 91.4 inches.
3. SCISSORS - For thread cutting and also a separate pair for cutting out your magazine pictures. I don't recommend using your thread scissors for anything but thread so that they stay nice and sharp.
4. EMBROIDERY FLOSS - I prefer DMC cotton embroidery floss. It is easy to find, has a great range of colors, and is a good quality.
5. EMBROIDERY NEEDLE - I used a needle with a thin shaft. I wanted to make as small of a hole as possible in the paper. Normally I use a size 8 on average so go with a higher size for a thinner needle like a 9 or 10.

Choose some pictures that you would like to graffiti. Be creative and let your imagination take over. I like to work on portraits which are perfect for adding make up, hair, glasses and other accessories!


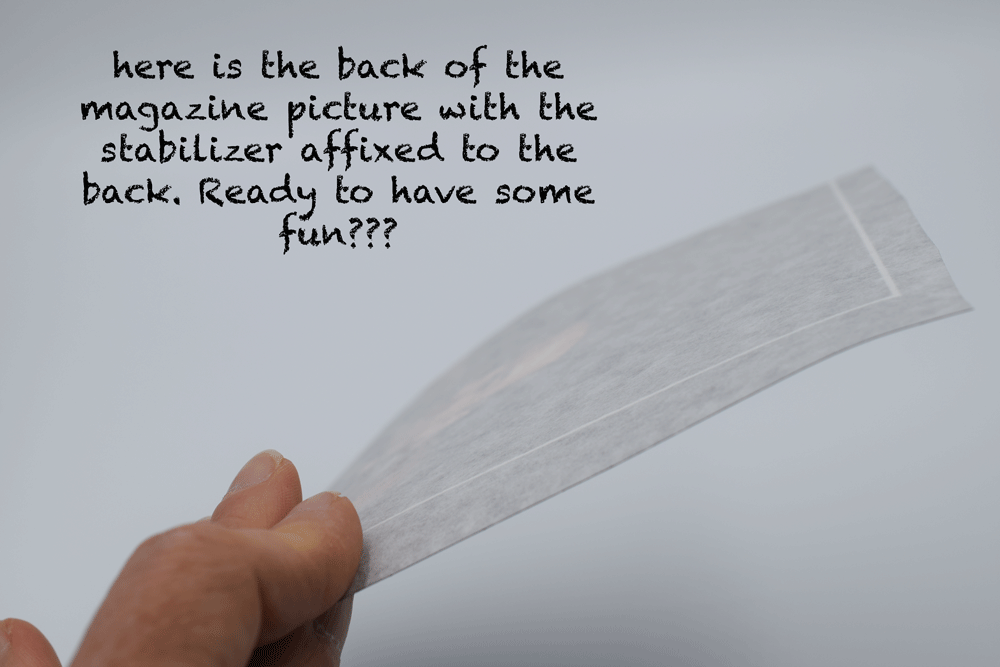
Peel the paper backing off the stabilizer.

Center your photo on the stabilizer and adhere it, allowing the edges of the stabilizer to overlap slightly.

Use your scissors to trim all the edges.
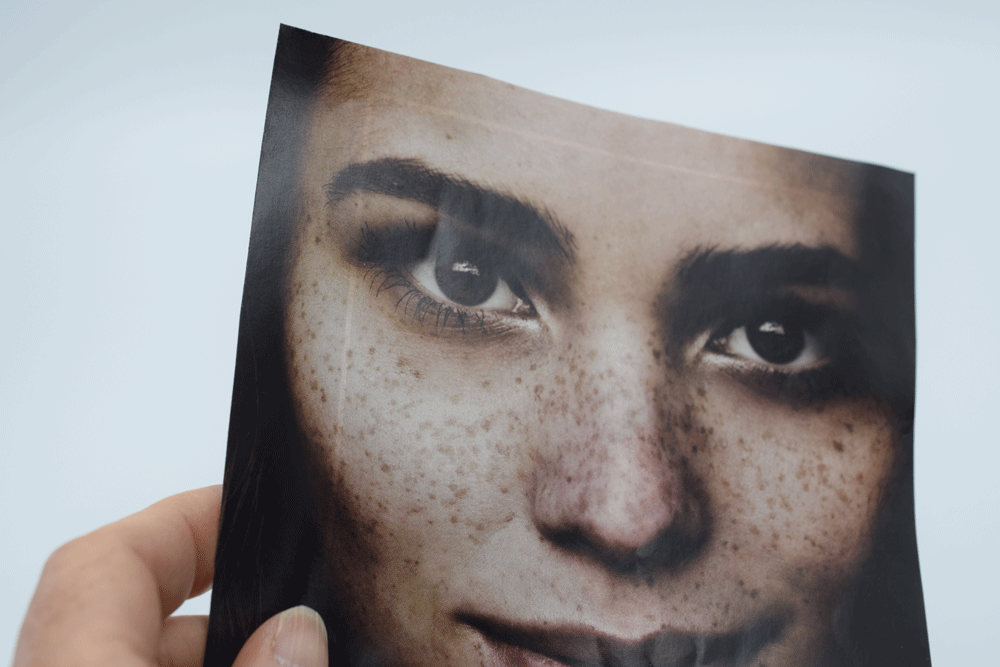
Take a look at the picture you have chosen. I like to create the unexpected. This usually translates to me as the opposite intent of the original photo.

I used a gold sharpie to sketch some lines as a stitch guide. As I got further in, I just started using free hand stitches. Do what feels comfortable. This is just pure fun!

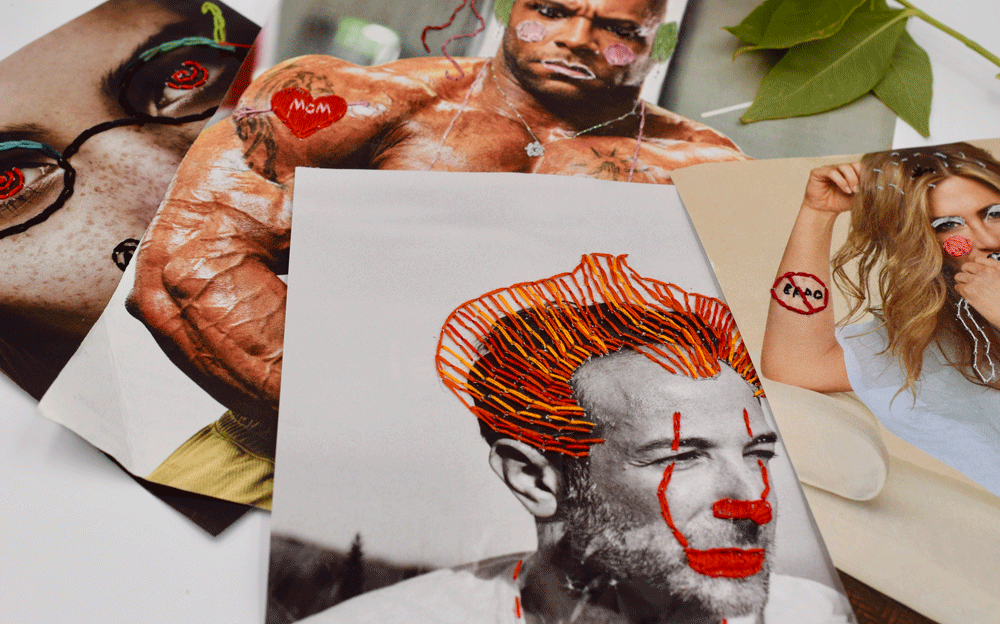
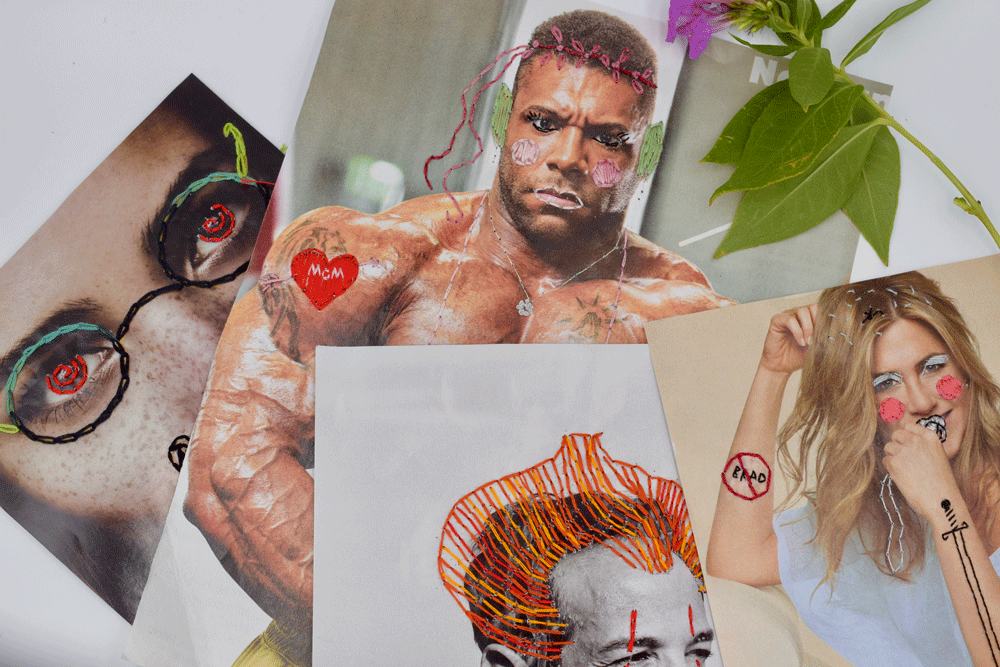
I used three of the six embroidery strands for this design. I used CHAIN STITCH for the eyeglasses with a lovely variegated thread and BACK STITCH for the mustache and goatee as well as the zombie eyes. Wholesome turned diabolical!
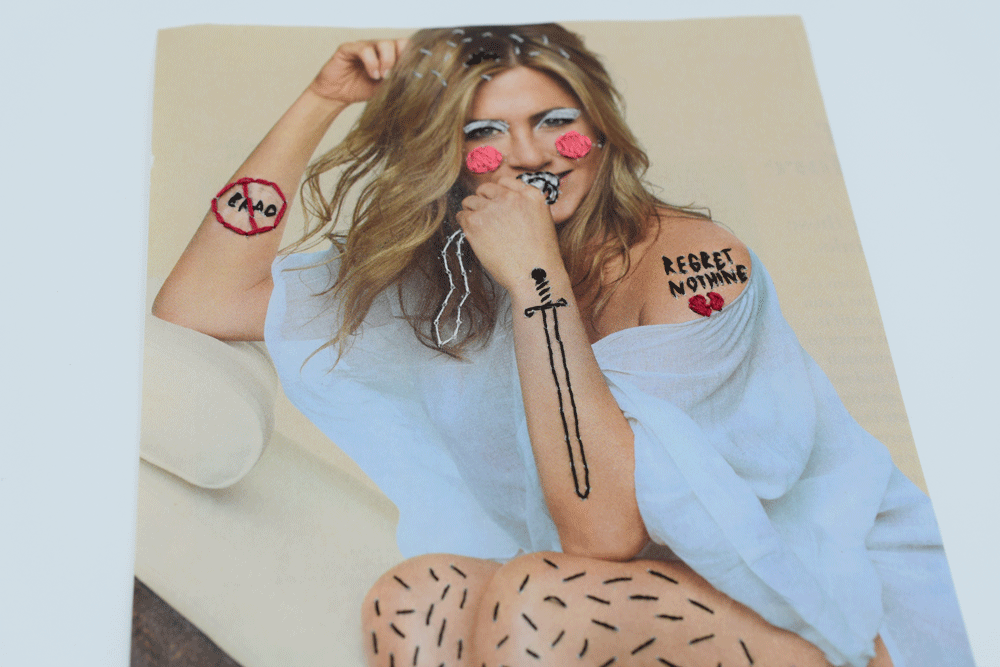
For this lovely wholesome gal, I added some unfortunate stubble, bad tattoos and daring make-up choices!

Above I practice my SATIN STITCH to make some over-the-top cosmetic choices. Also, the hand placement made the perfect fit for a pacifier. Weird and wonderful and oddly addicting!

Some backstitch tattoo art....

"Regret Nothing" except maybe these unfortunate tattoo choices.

This was my favorite one by far. There was only one thing to do with the most masculine image I have ever seen......add some delightful feminine touches!

A teeny bikini in satin stitch.......
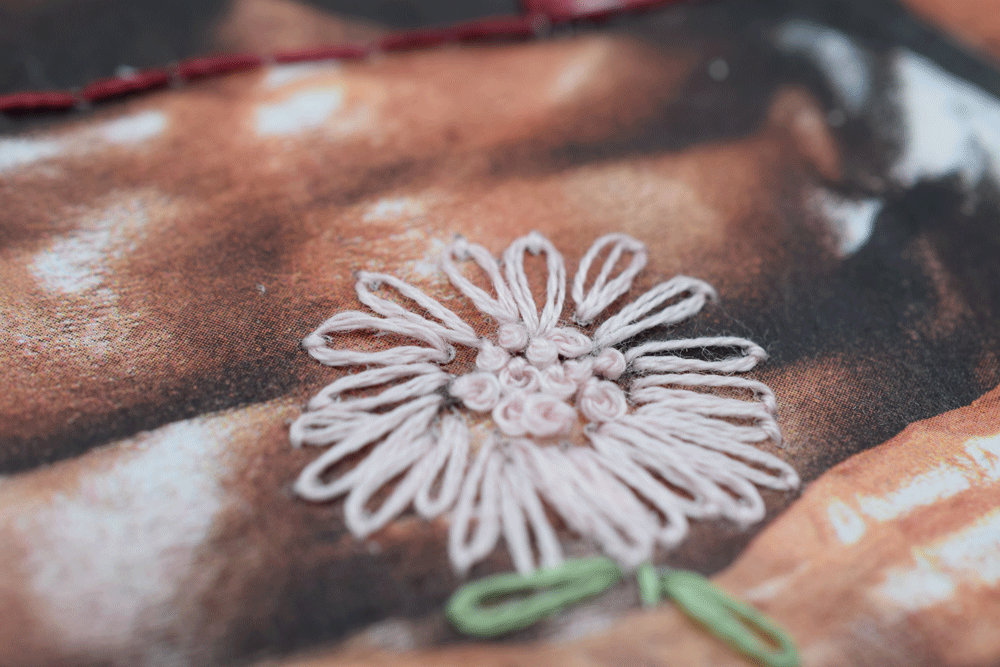
A flower using the LAZY DAISY stitch and FRENCH KNOTS!!!

Who doesn't love a classic Mom tattoo made in SATIN STITCH?

Some pink rouge, eyeliner, elf ears, and a flower headband really complete the look.

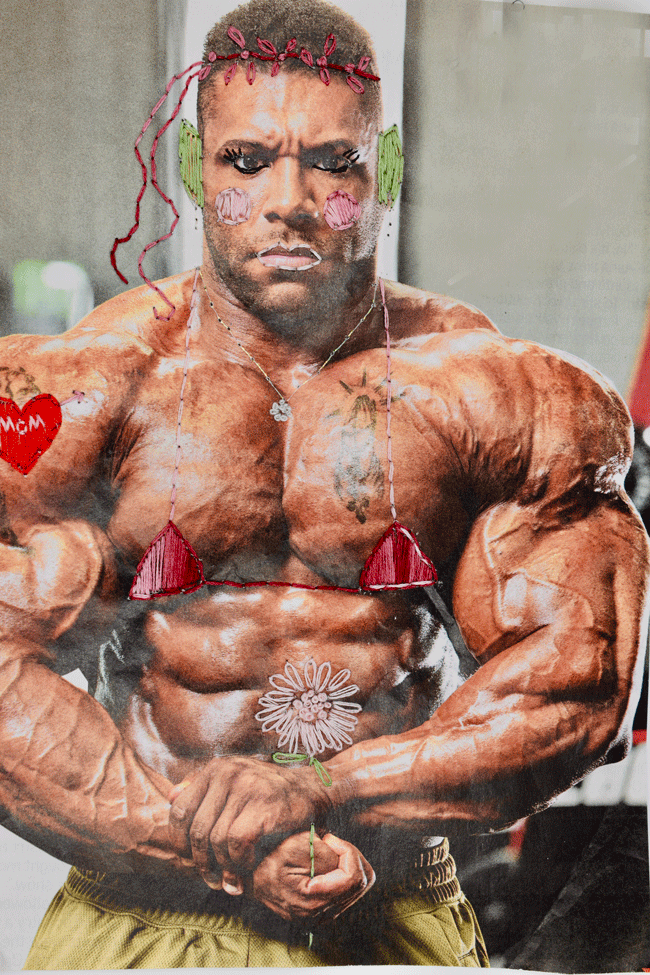
I hope this hunk doesn't mind some good natured fun:)

This serious thinker could use some "lightening up". Some silly clown hair and make-up ought to do it! The hair was created using BACKSTITCH and SATIN STITCH for the pom-poms!
***This post may contain some affiliate links.
Seriously SO. MUCH. FUN!!!!!
I would do this on photos as gift ideas! Think of the glorious possibilities.
If you are interested in learning and practicing beginning embroidery, I have a sampler available at my shop HERE. It is a PDF you can print instantly from your home computer and has a pattern and detailed stitch instructions.
Thank you kindly for stopping by!
Warmly,
Pam